eSIMs, despite being delivered much quicker than a physical SIM, need a bit more effort on the user's side to set up.
Below is a step by step guide on setting up your brand new IQ Mobile (or IQ Direct) eSIM on your Apple device so you can get up and running in no time!
Important Note
Not all smartphones are compatible with eSIM technology - if you are unsure if your device is eSIM compatible, please get in touch with our support staff!
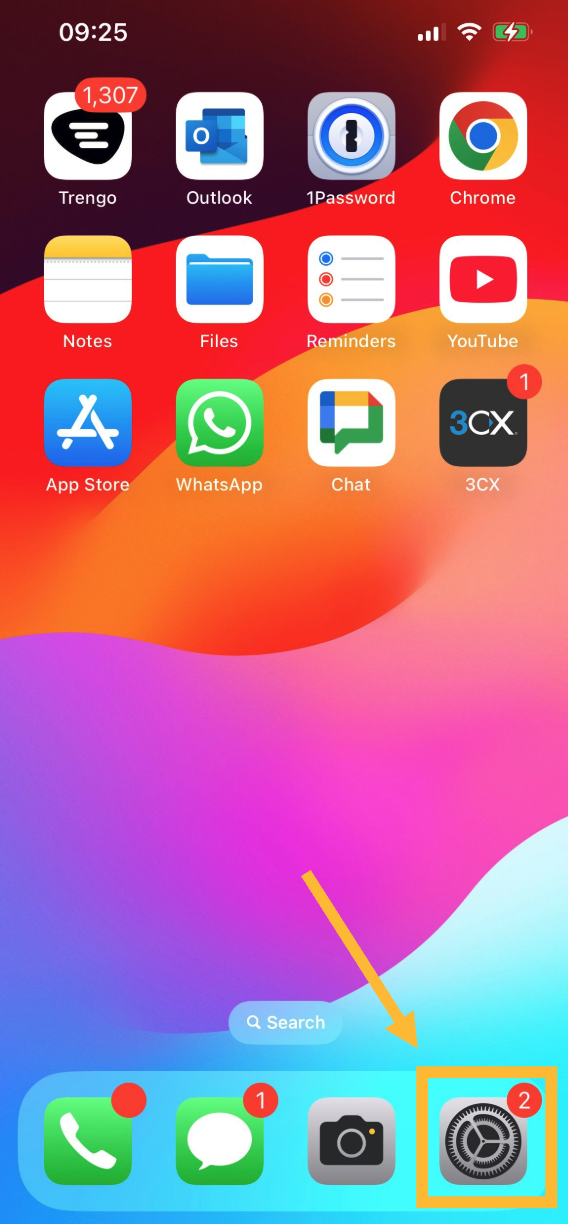
Step 1
Navigate to your device's settings
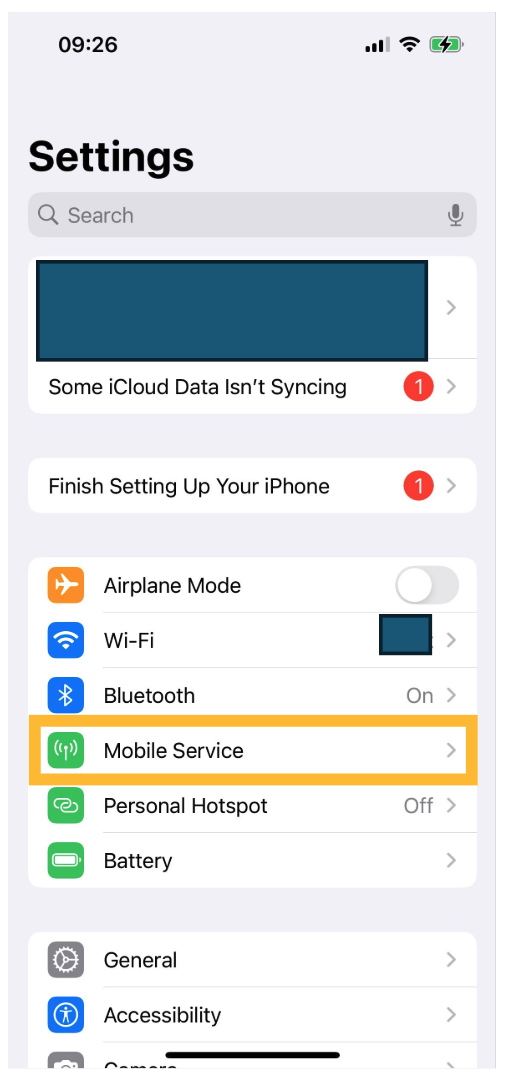
Step 2
Navigate to Mobile Service
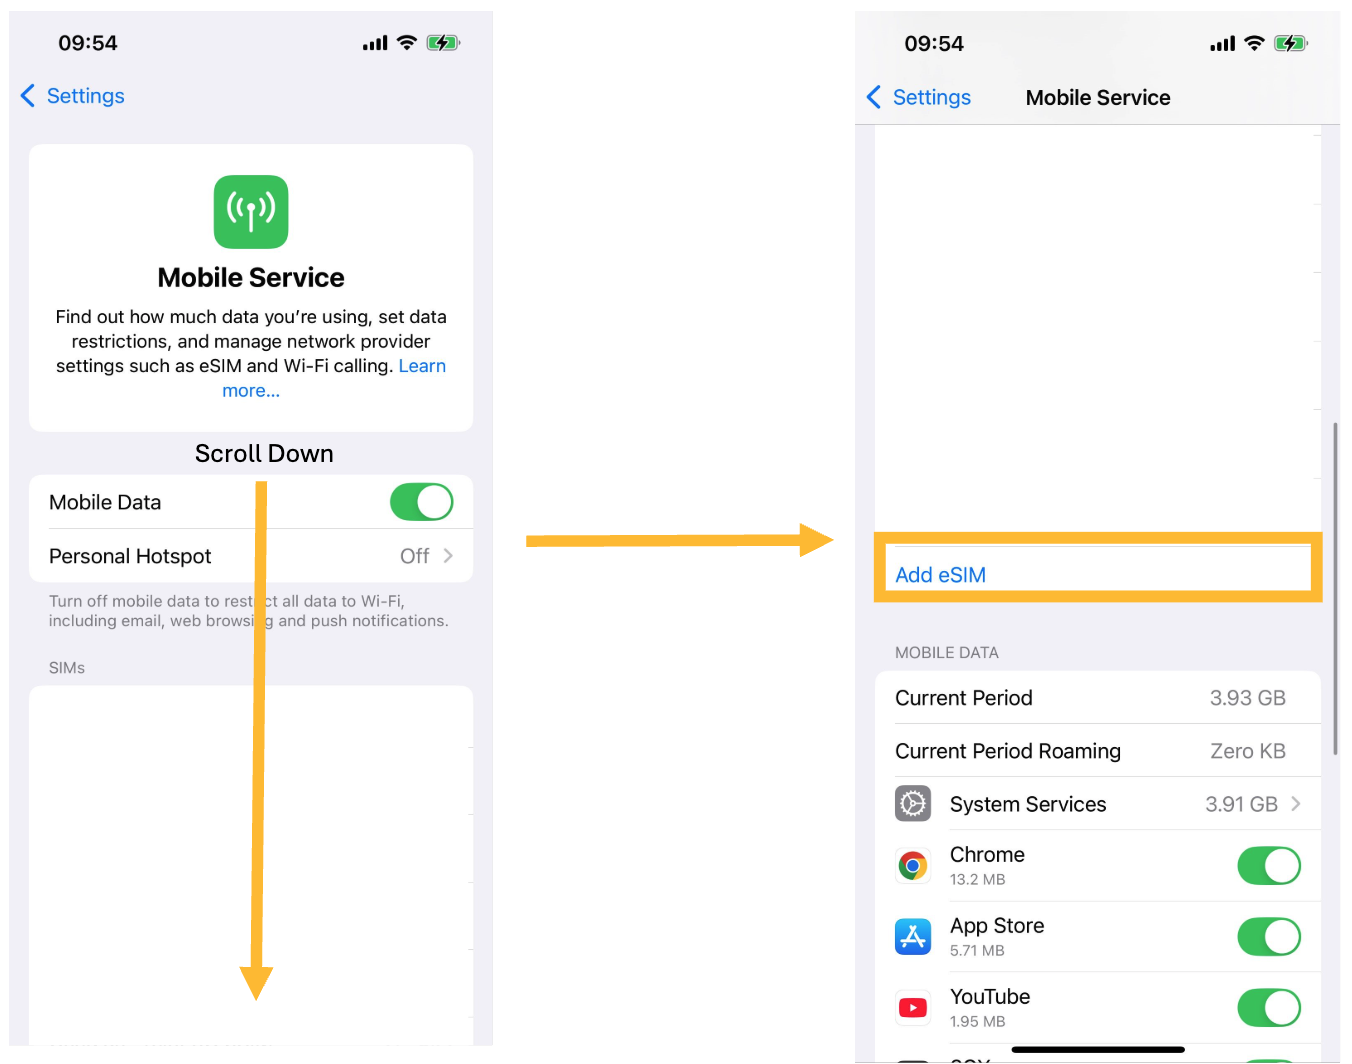
Step 3
Scroll down and select Add eSIM
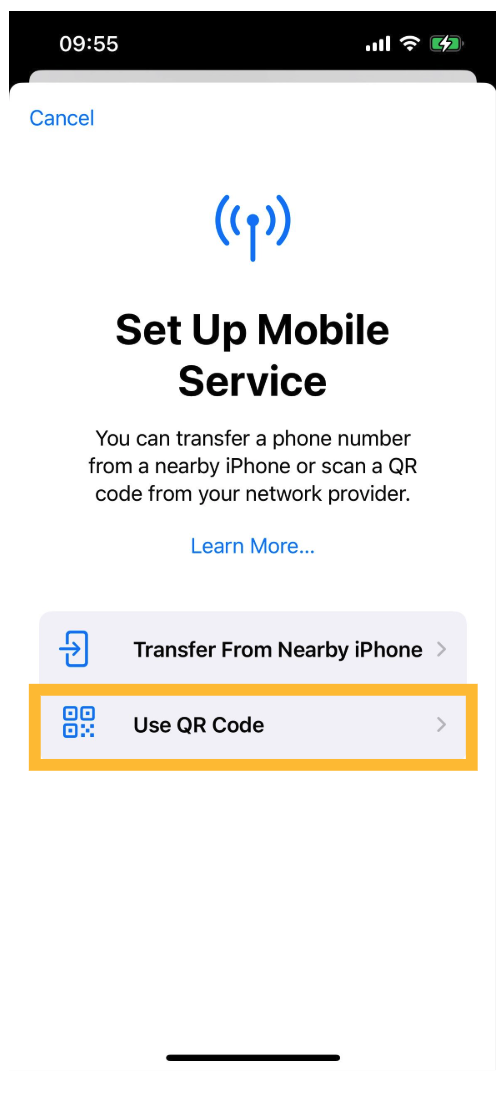
Step 4
Select Use QR Code
Step 5
Scan the eSIM QR code you were provided (if this is an IQ Mobile eSIM, this will be in an email)
Step 6
Wait for the eSIM to activate, then give your eSIM a name to identify it by
If this eSIM is your only SIM on your phone, then you can stop here. If you have multiple SIMs, you have a few more bits to do
Step 7
Select a SIM to be your Primary Mobile Service SIM, and select a SIM to be your Primary Data SIM
Most phones nowadays can have more than one SIM, and some people may have a variety of SIM setups, such as:
- A SIM for calls and texts, and a second SIM for data
- A main SIM for personal use, and a secondary SIM for work
Select the main SIM for data and calls/texts that works best for you - this can always be changed later!
Support
If you get stuck at any point during this article, please get in contact with our support staff and they'll be happy to assist:
Phone: 01225 588101
Whatsapp: 07480782101
Email: help@helloiq.uk
Want to purchase an eSIM? IQ Mobile offers your standard Voice, Calls and Texts plans via eSIM at https://helloiq.co.uk/collections/mobile-simonly
We also offer IQ Direct data-only travel SIMs designed specifically for short-term trips abroad at https://helloiq.co.uk/collections/mobile-simonly