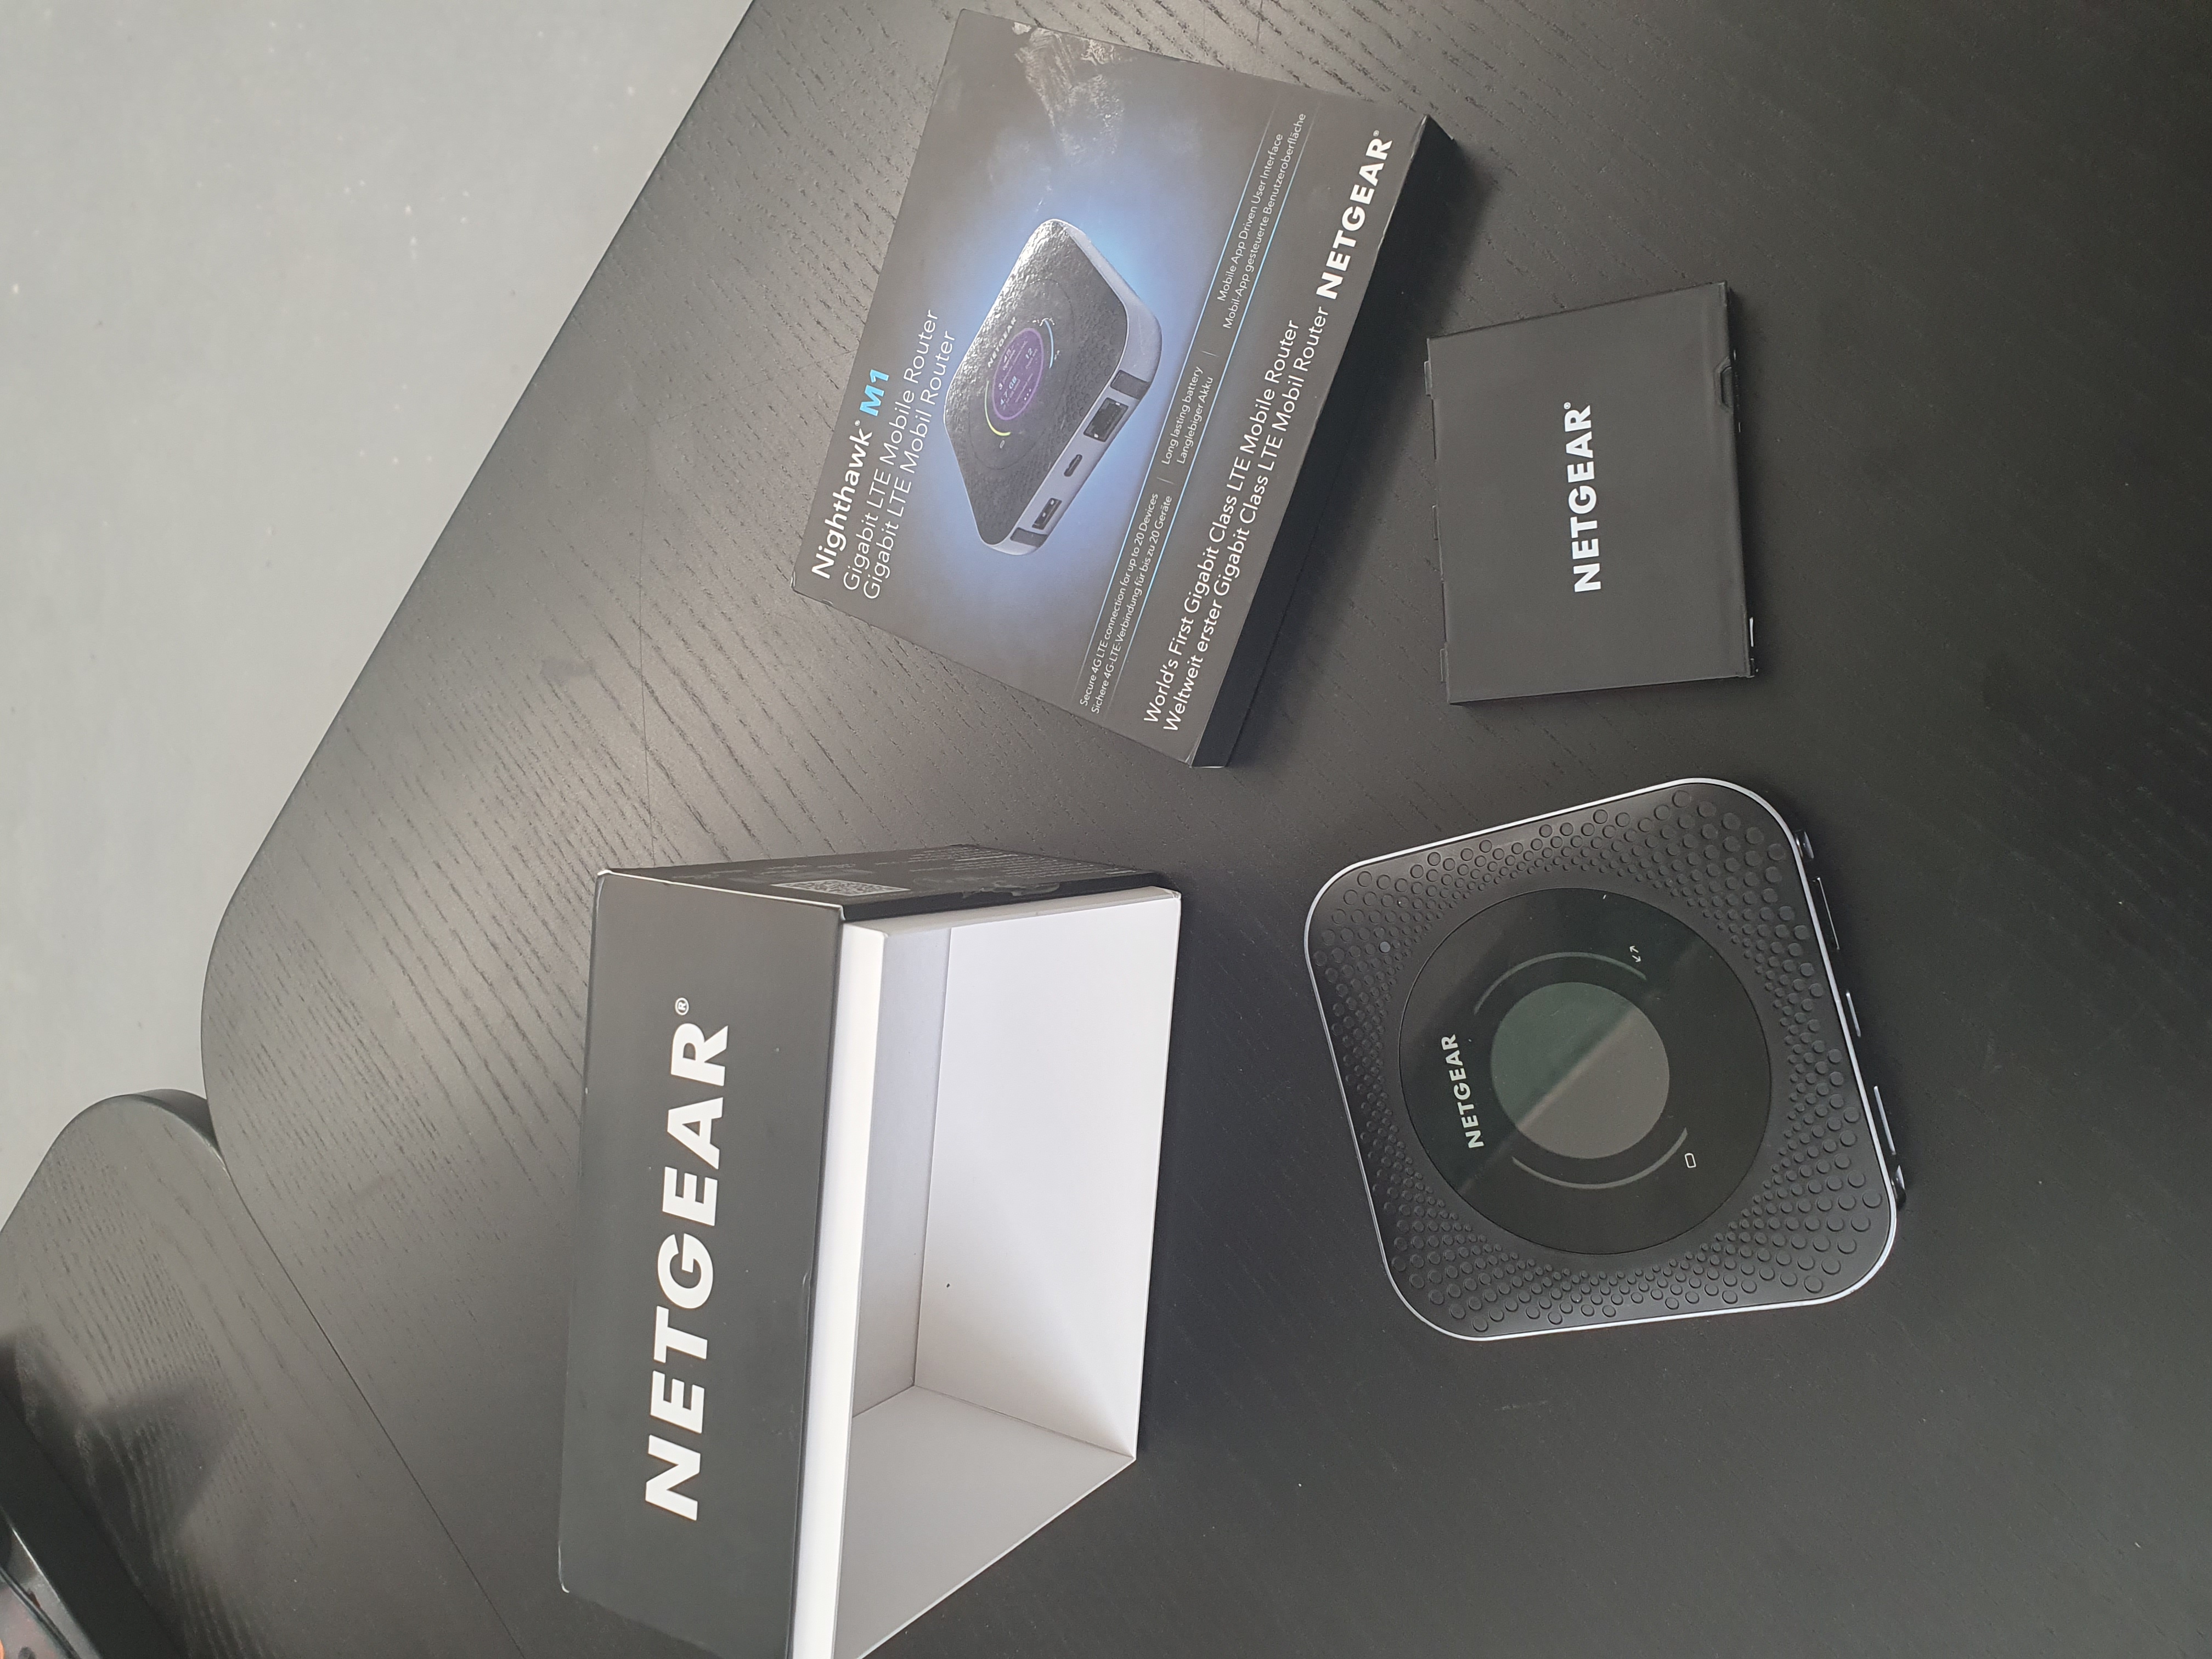
Step 1) Unbox the device, ensure all parts are present and insert the SIM.
Parts should include - Router, Battery, Charging Cable (USB Type-C), Back Cover, Quickstart Guide
Flip the router over and push the back cover off. This is done by pushing the cover forwards along the direction indicated by the arrows.
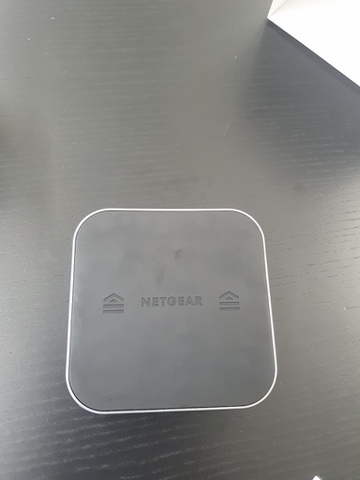
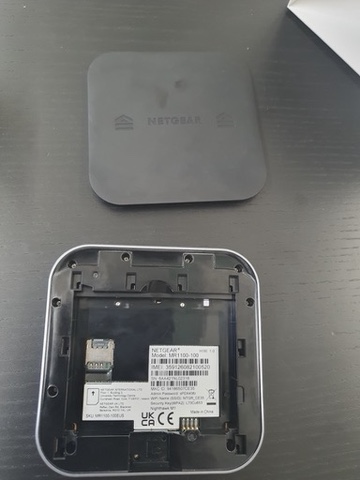
The sticker inside the router should indicate which way up you need to insert the NANO SIM. Ensure the back of the SIM is facing towards you.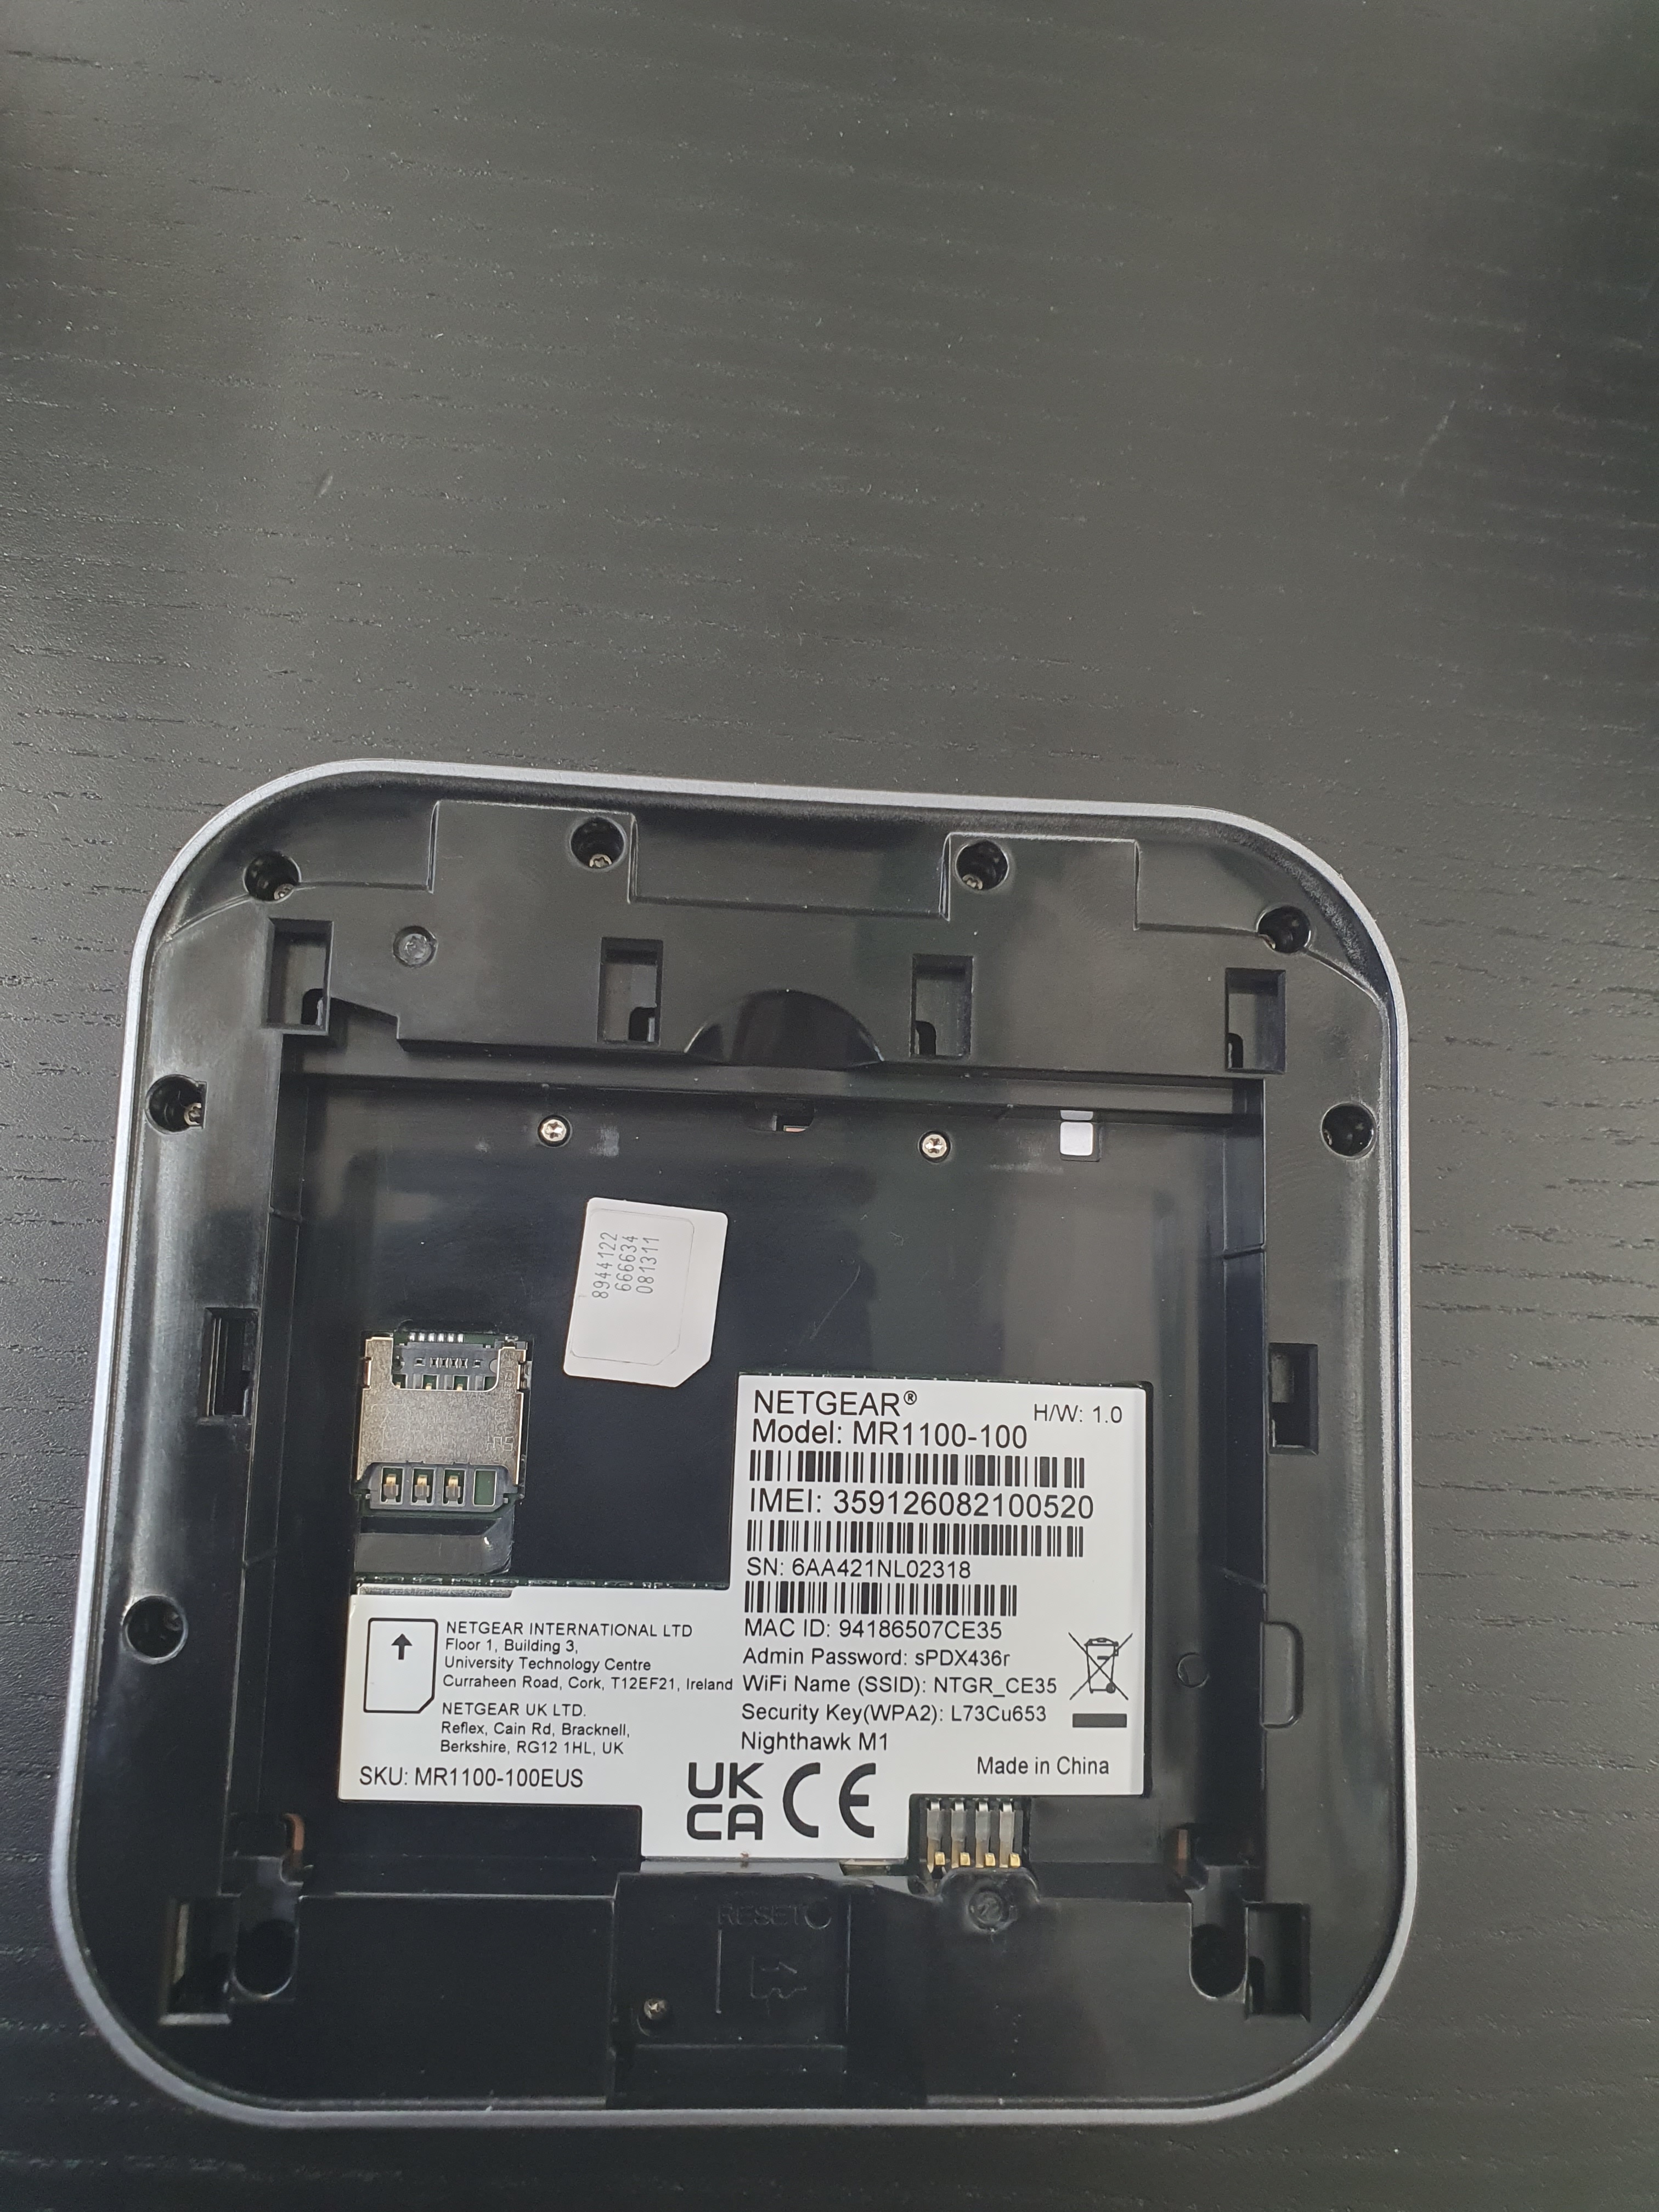
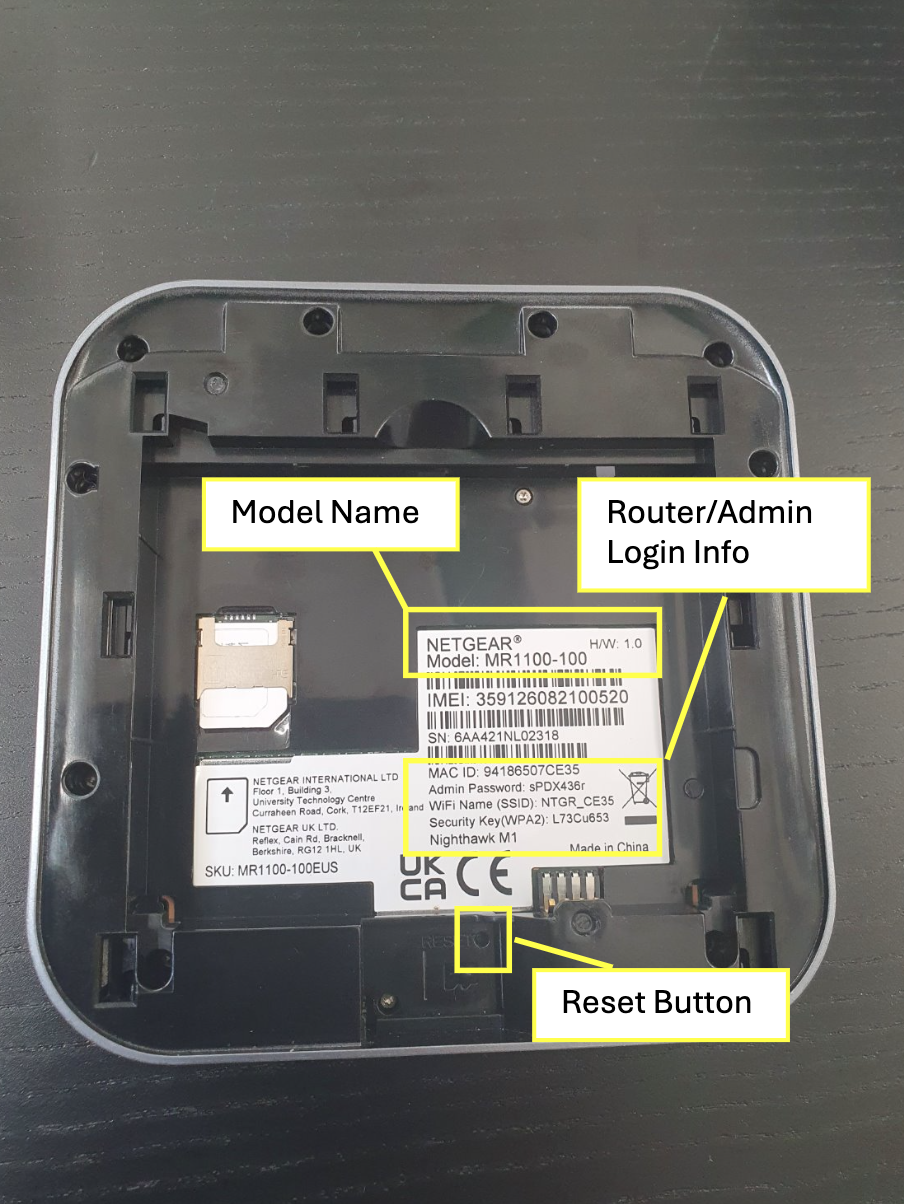
The sticker should also include the following info:
- Model Type - This is the name of the device should you ever have to inquire into the router
- WiFi Name - This is the name that will appear when trying to a device connect to the router
- Admin Password - This is the password needed to access the router settings in-browser
- Security Key (WPA2) - This is essentially the WiFi password; you'll need this when connecting a device to the WiFi
Finally, there is a factory reset button just underneath where the battery will sit. You will need a need a SIM tray pin or a paper clip if you ever need to press it.
Step 2) Insert the Battery and Turn on the Router
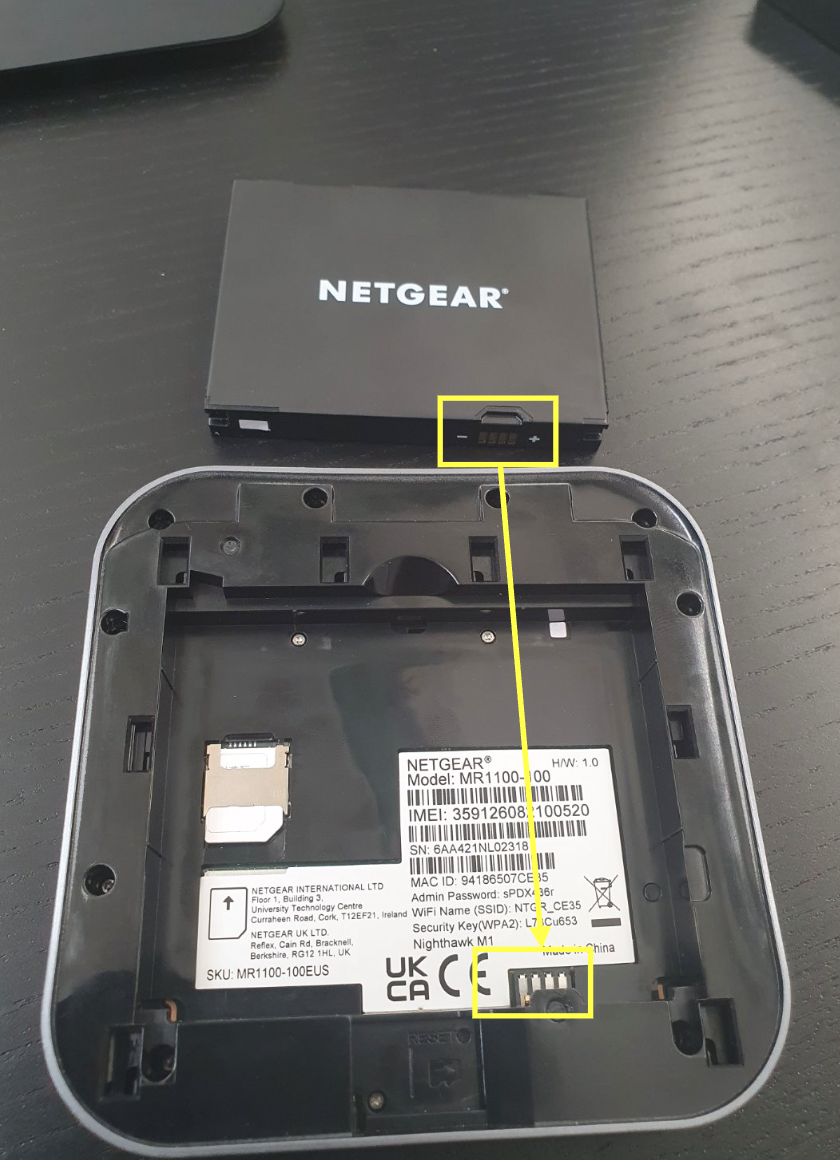
Line up the gold pins of the battery with the gold pins inside the router and slide the battery into place
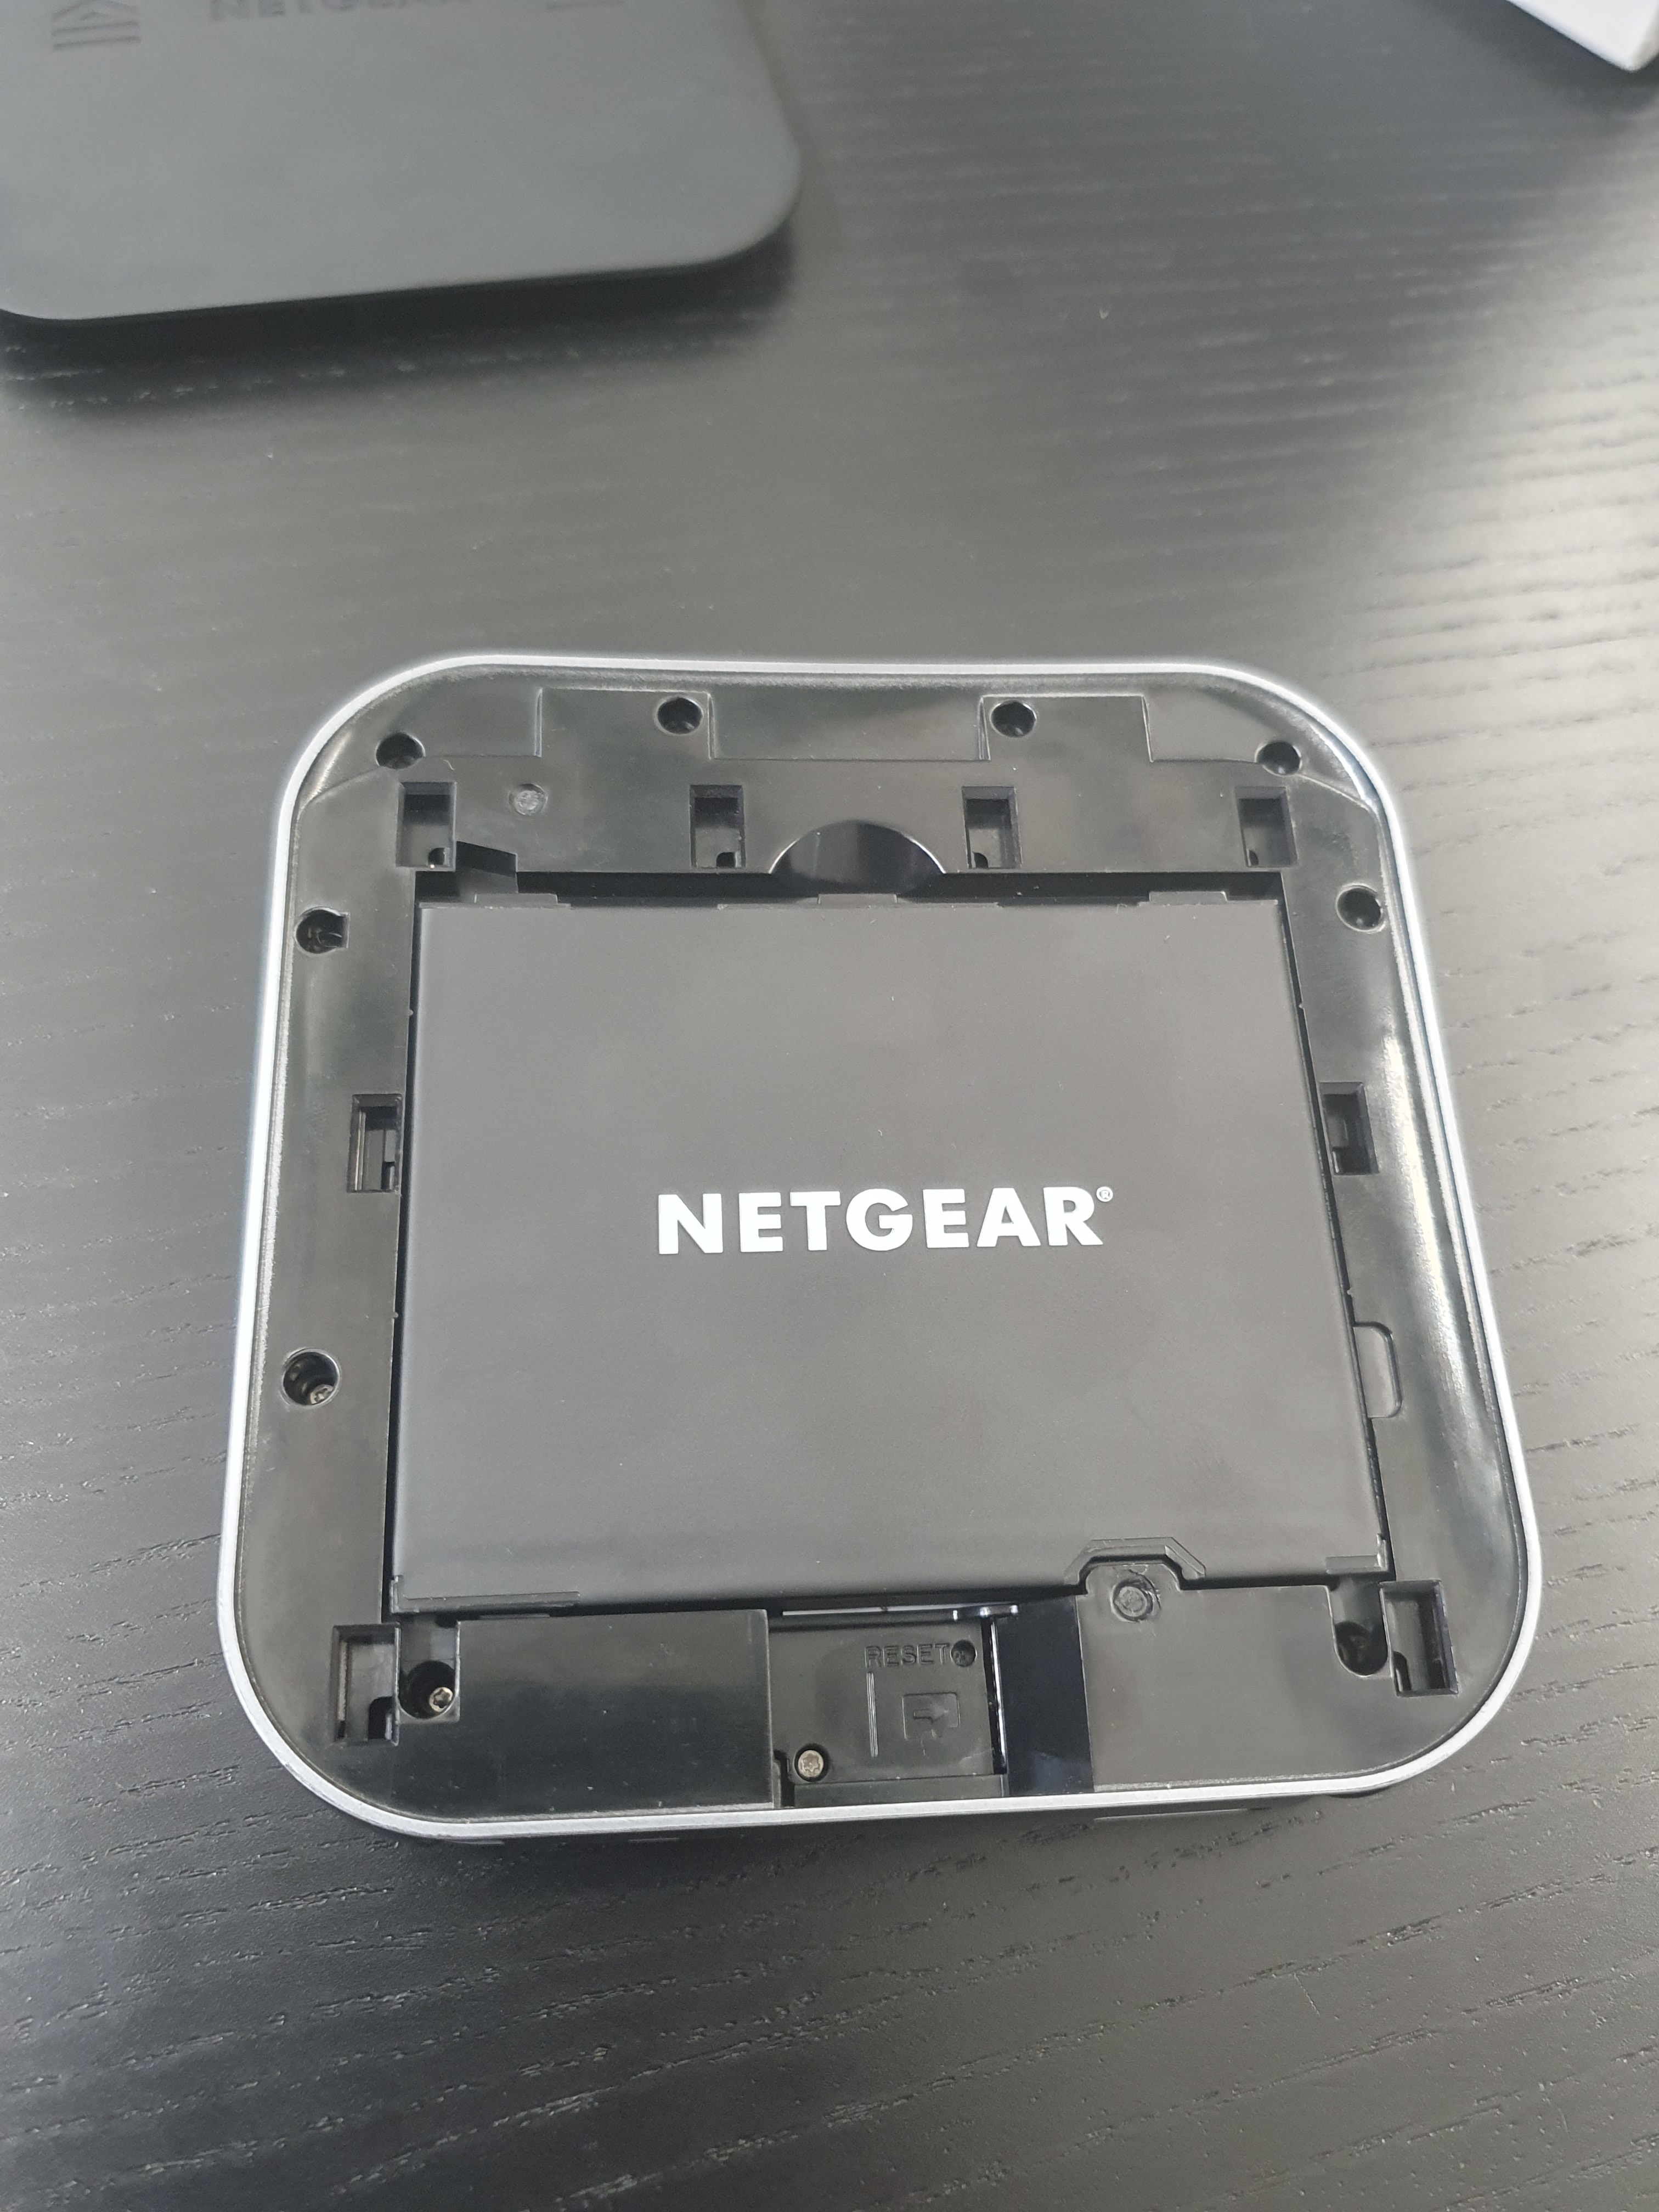
Finally, place the cover back on, flip the router so the front is facing you and hold the power button on the top of the router for 3 to 5 seconds. You should be greeted with the NETGEAR logo, followed by a screen regarding your data usage, connection strength, number of devices connected and remaining days on the SIM's data package.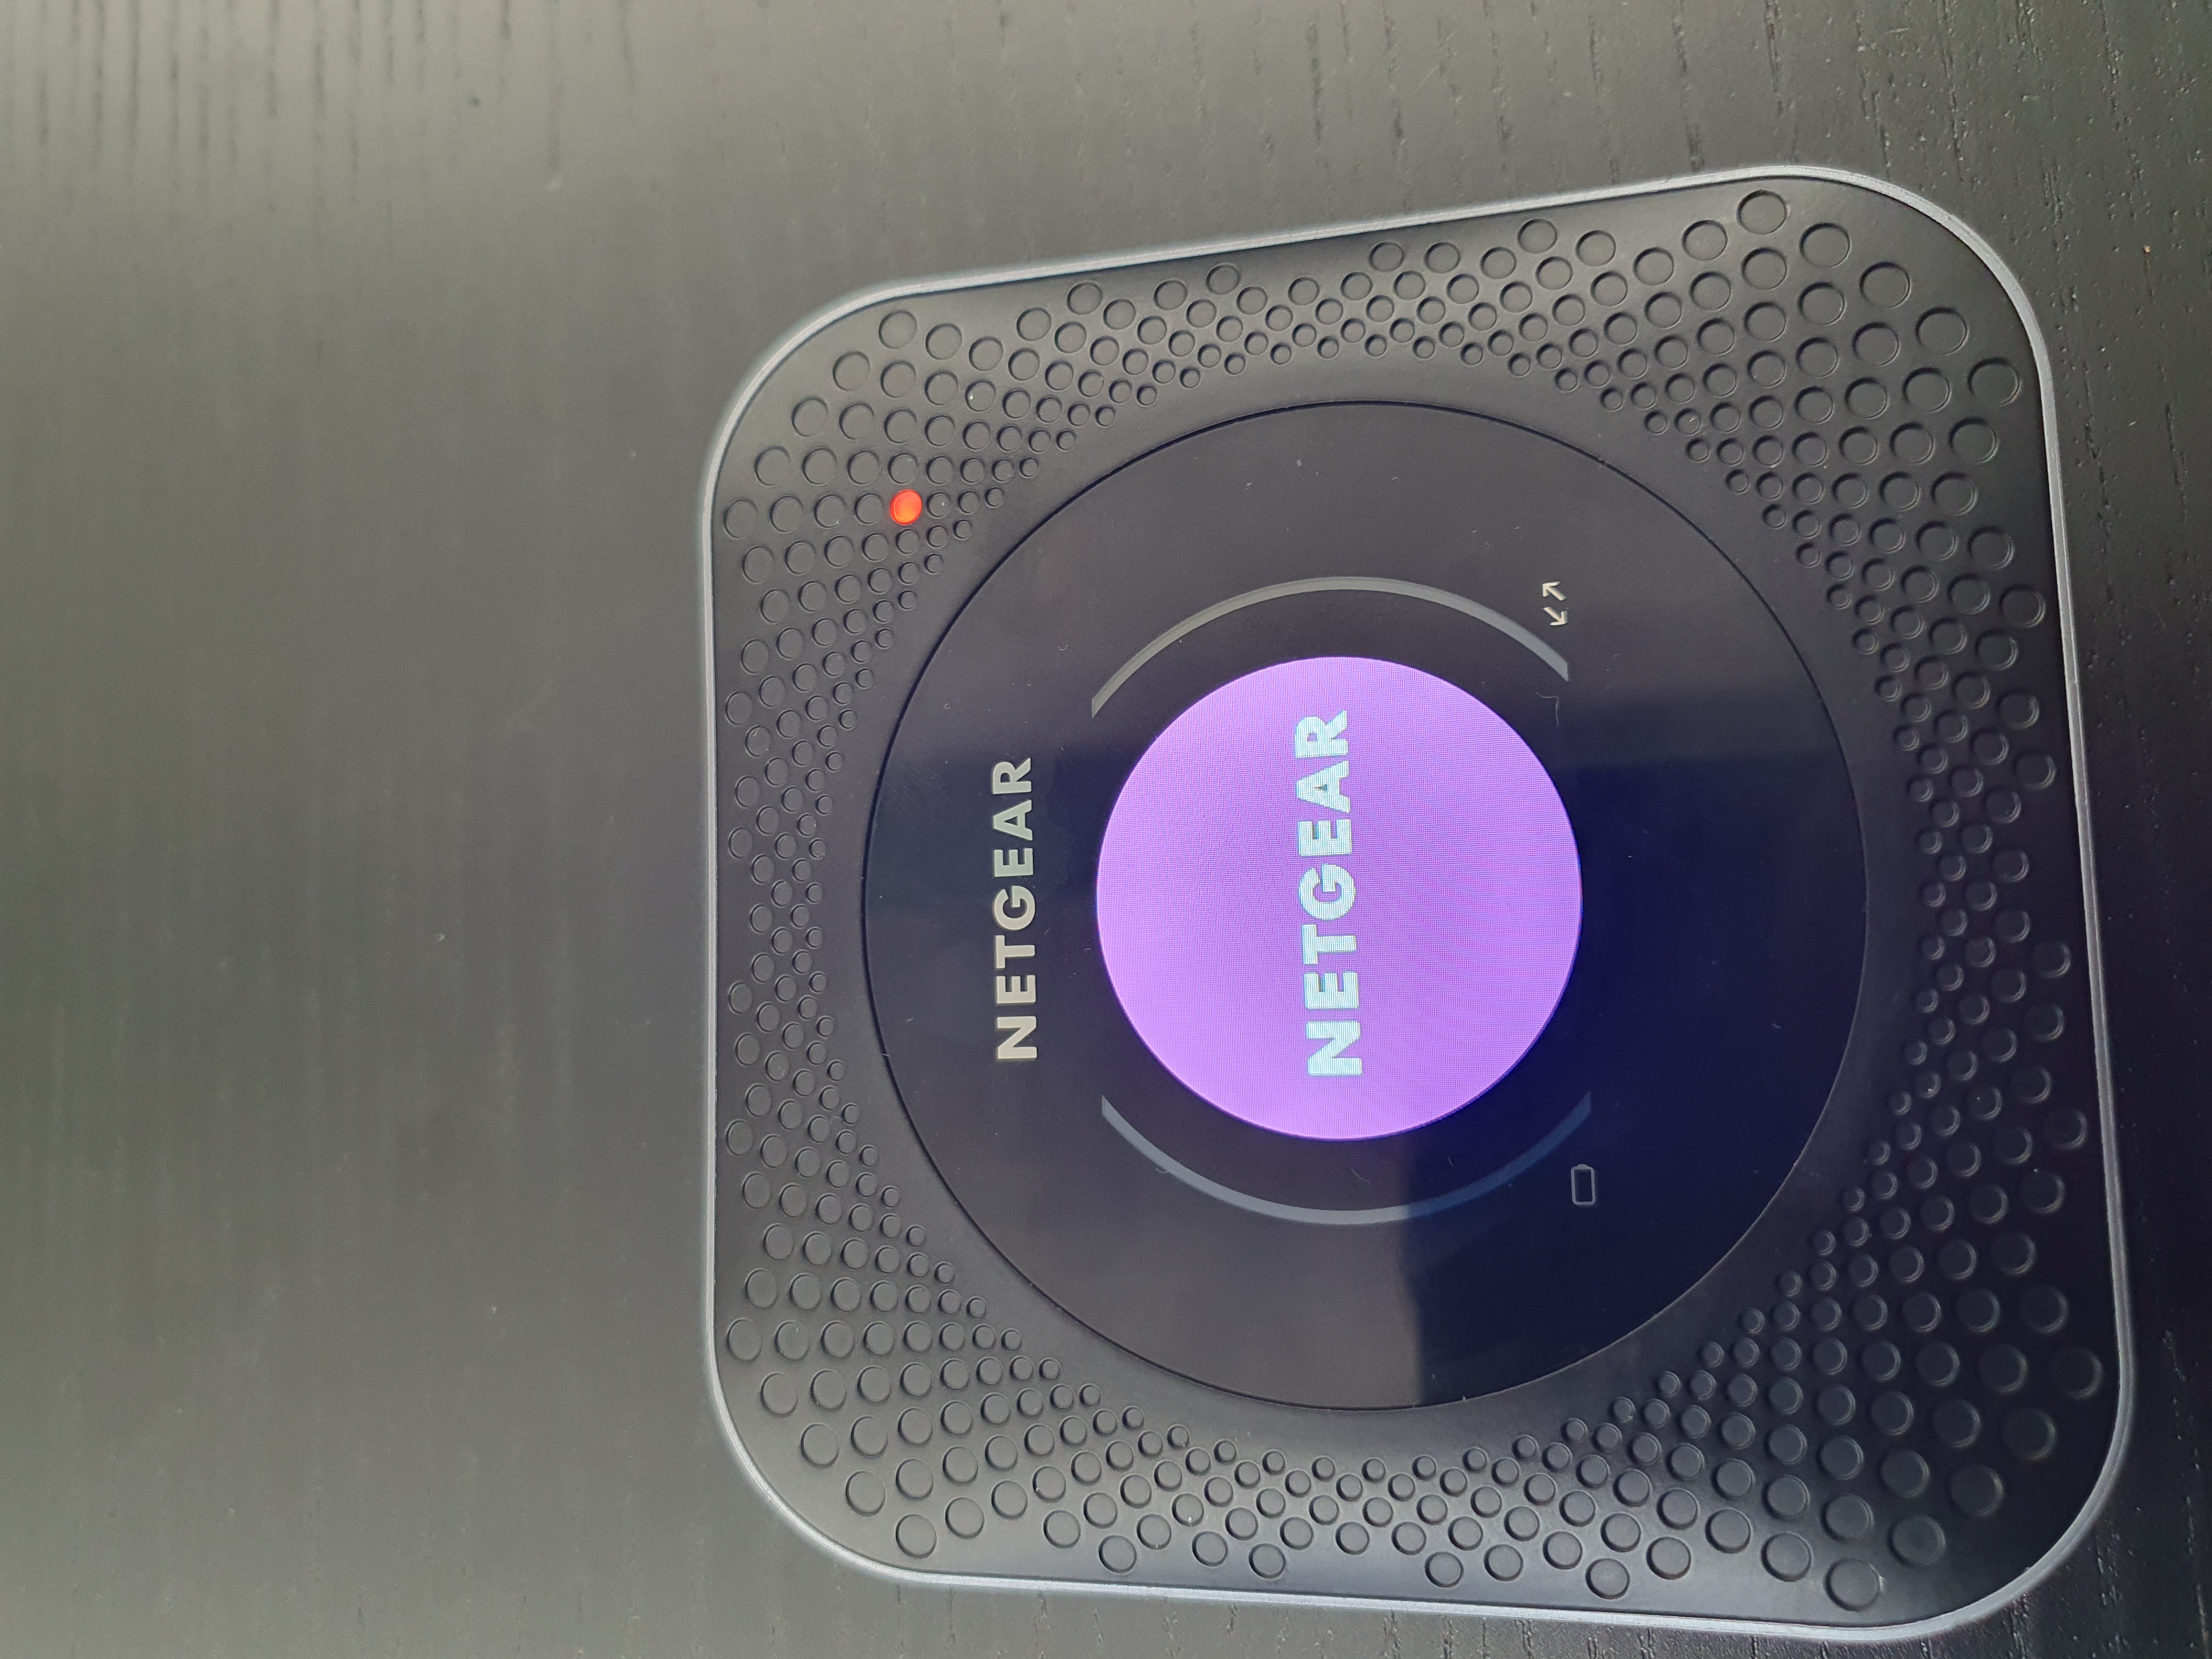
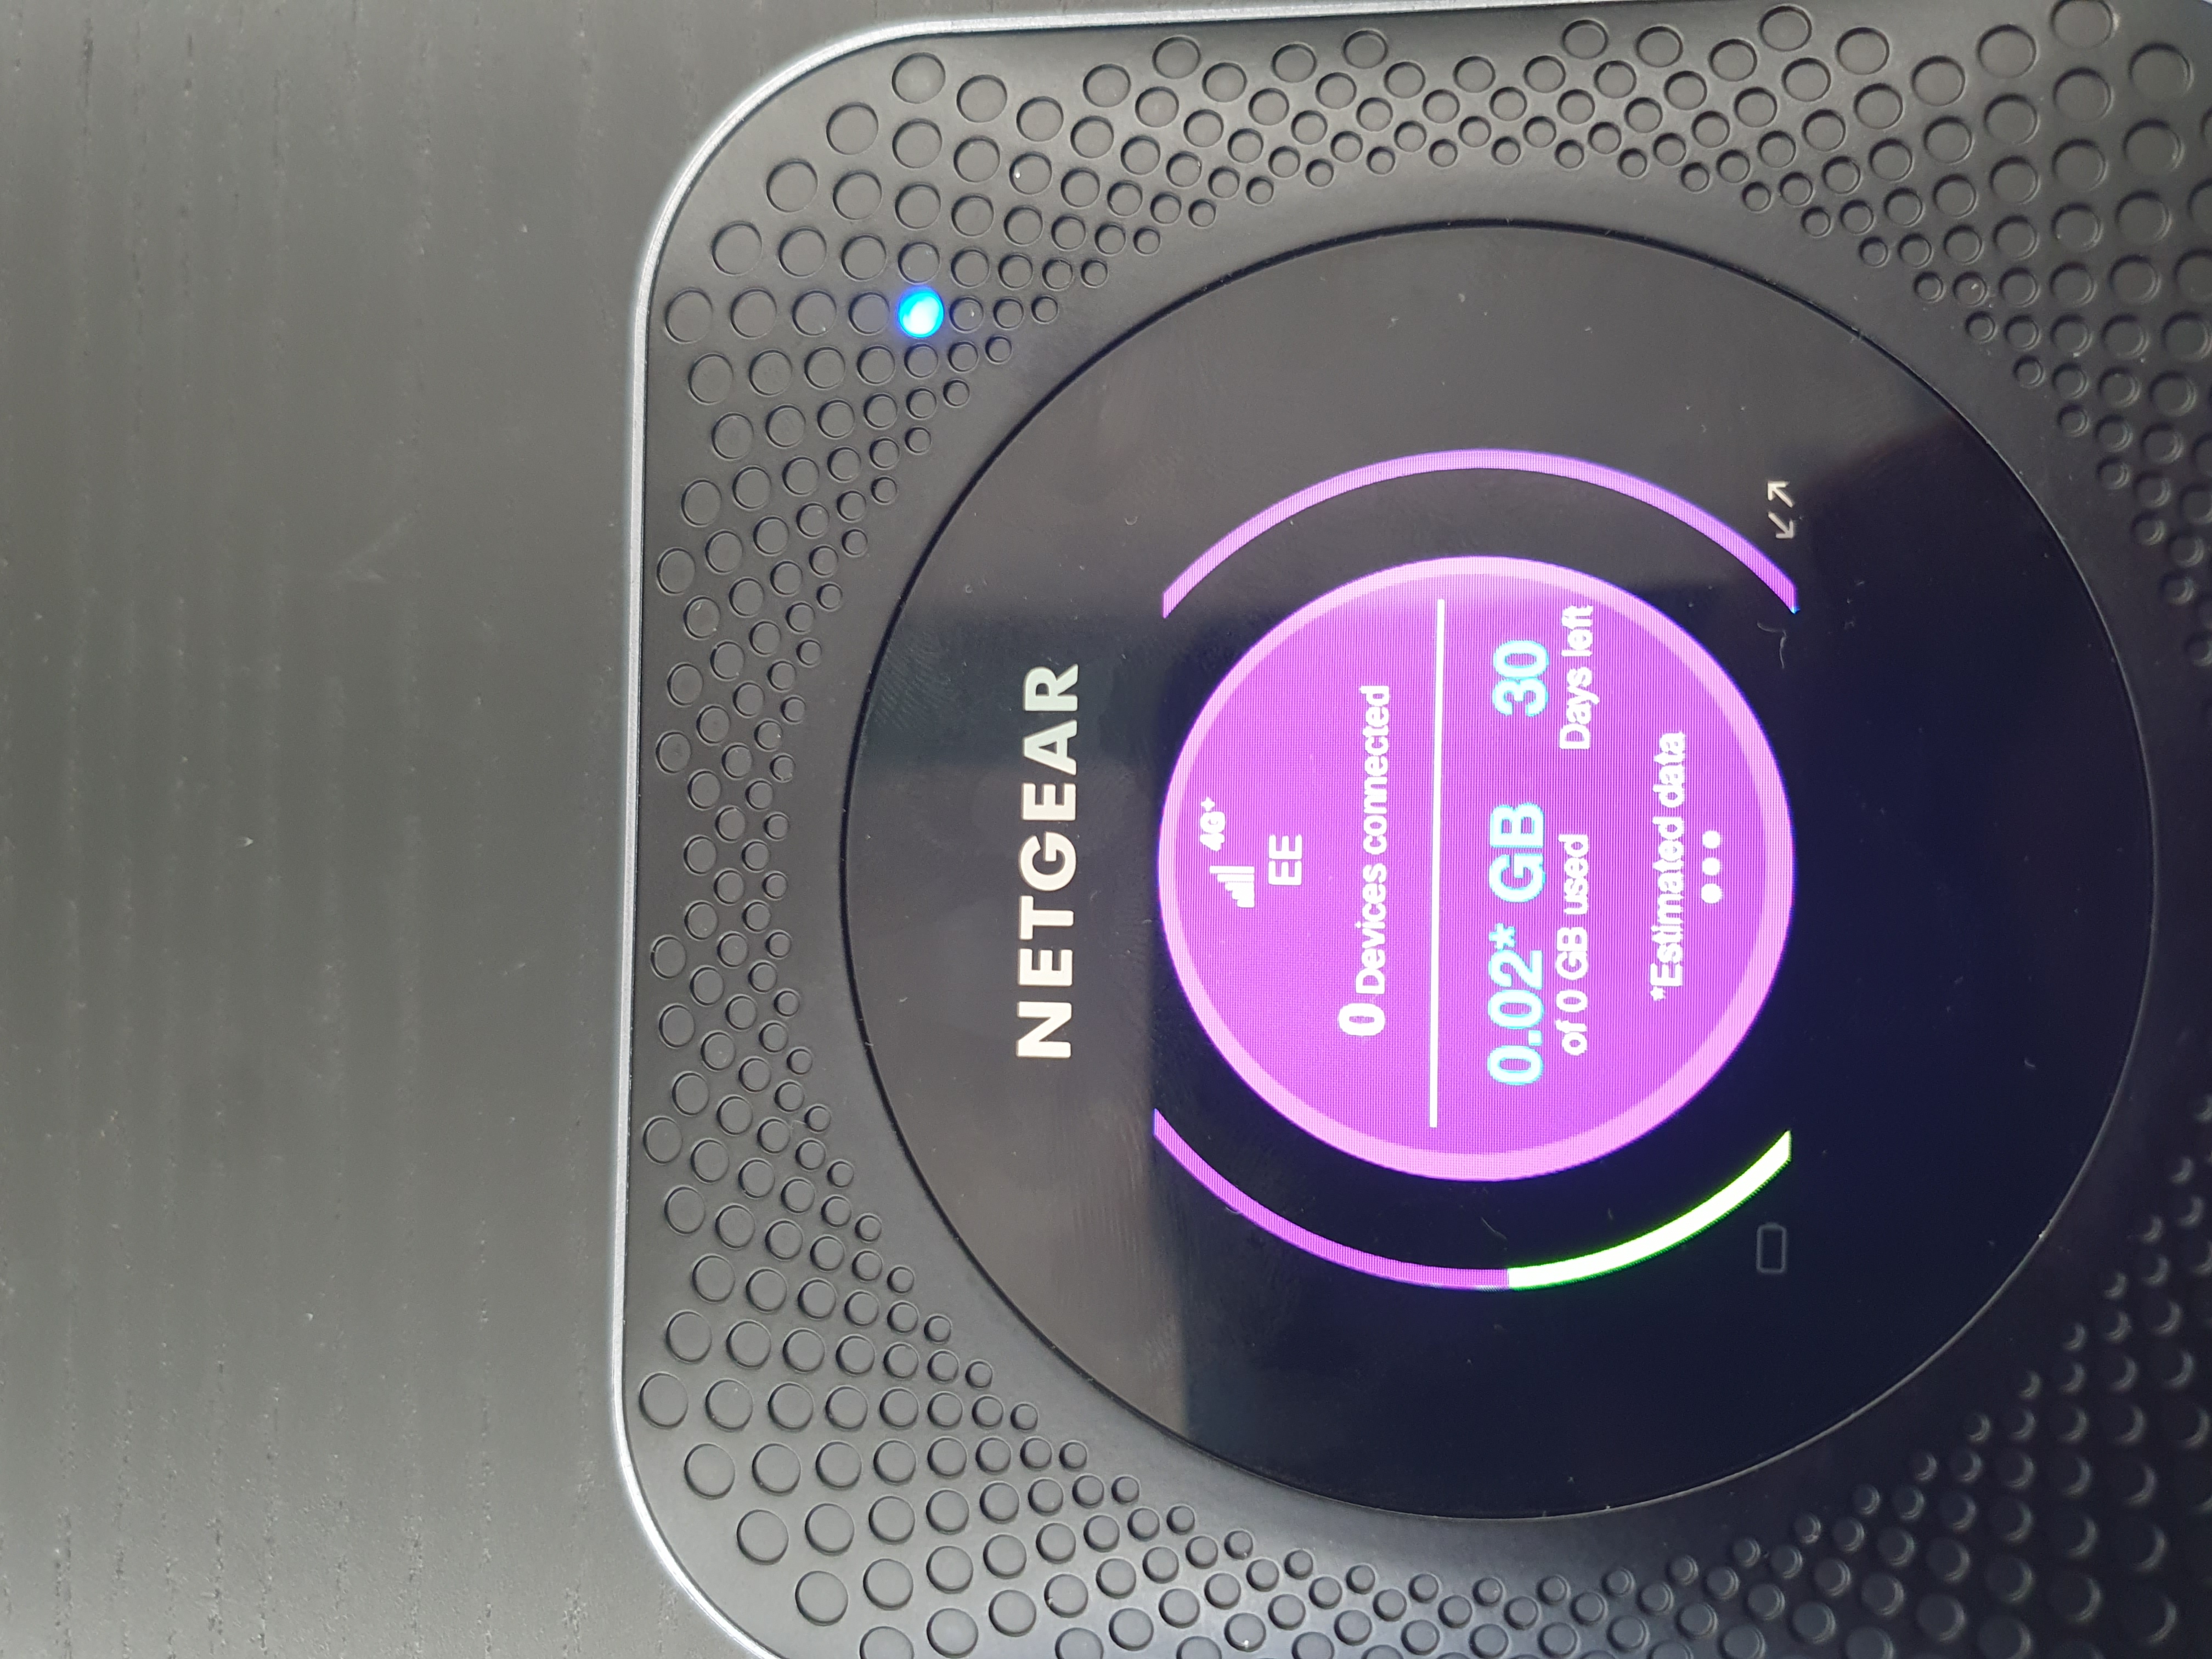
By tapping the power button, you can navigate through the available screens, including the current screen as well as your router login info.
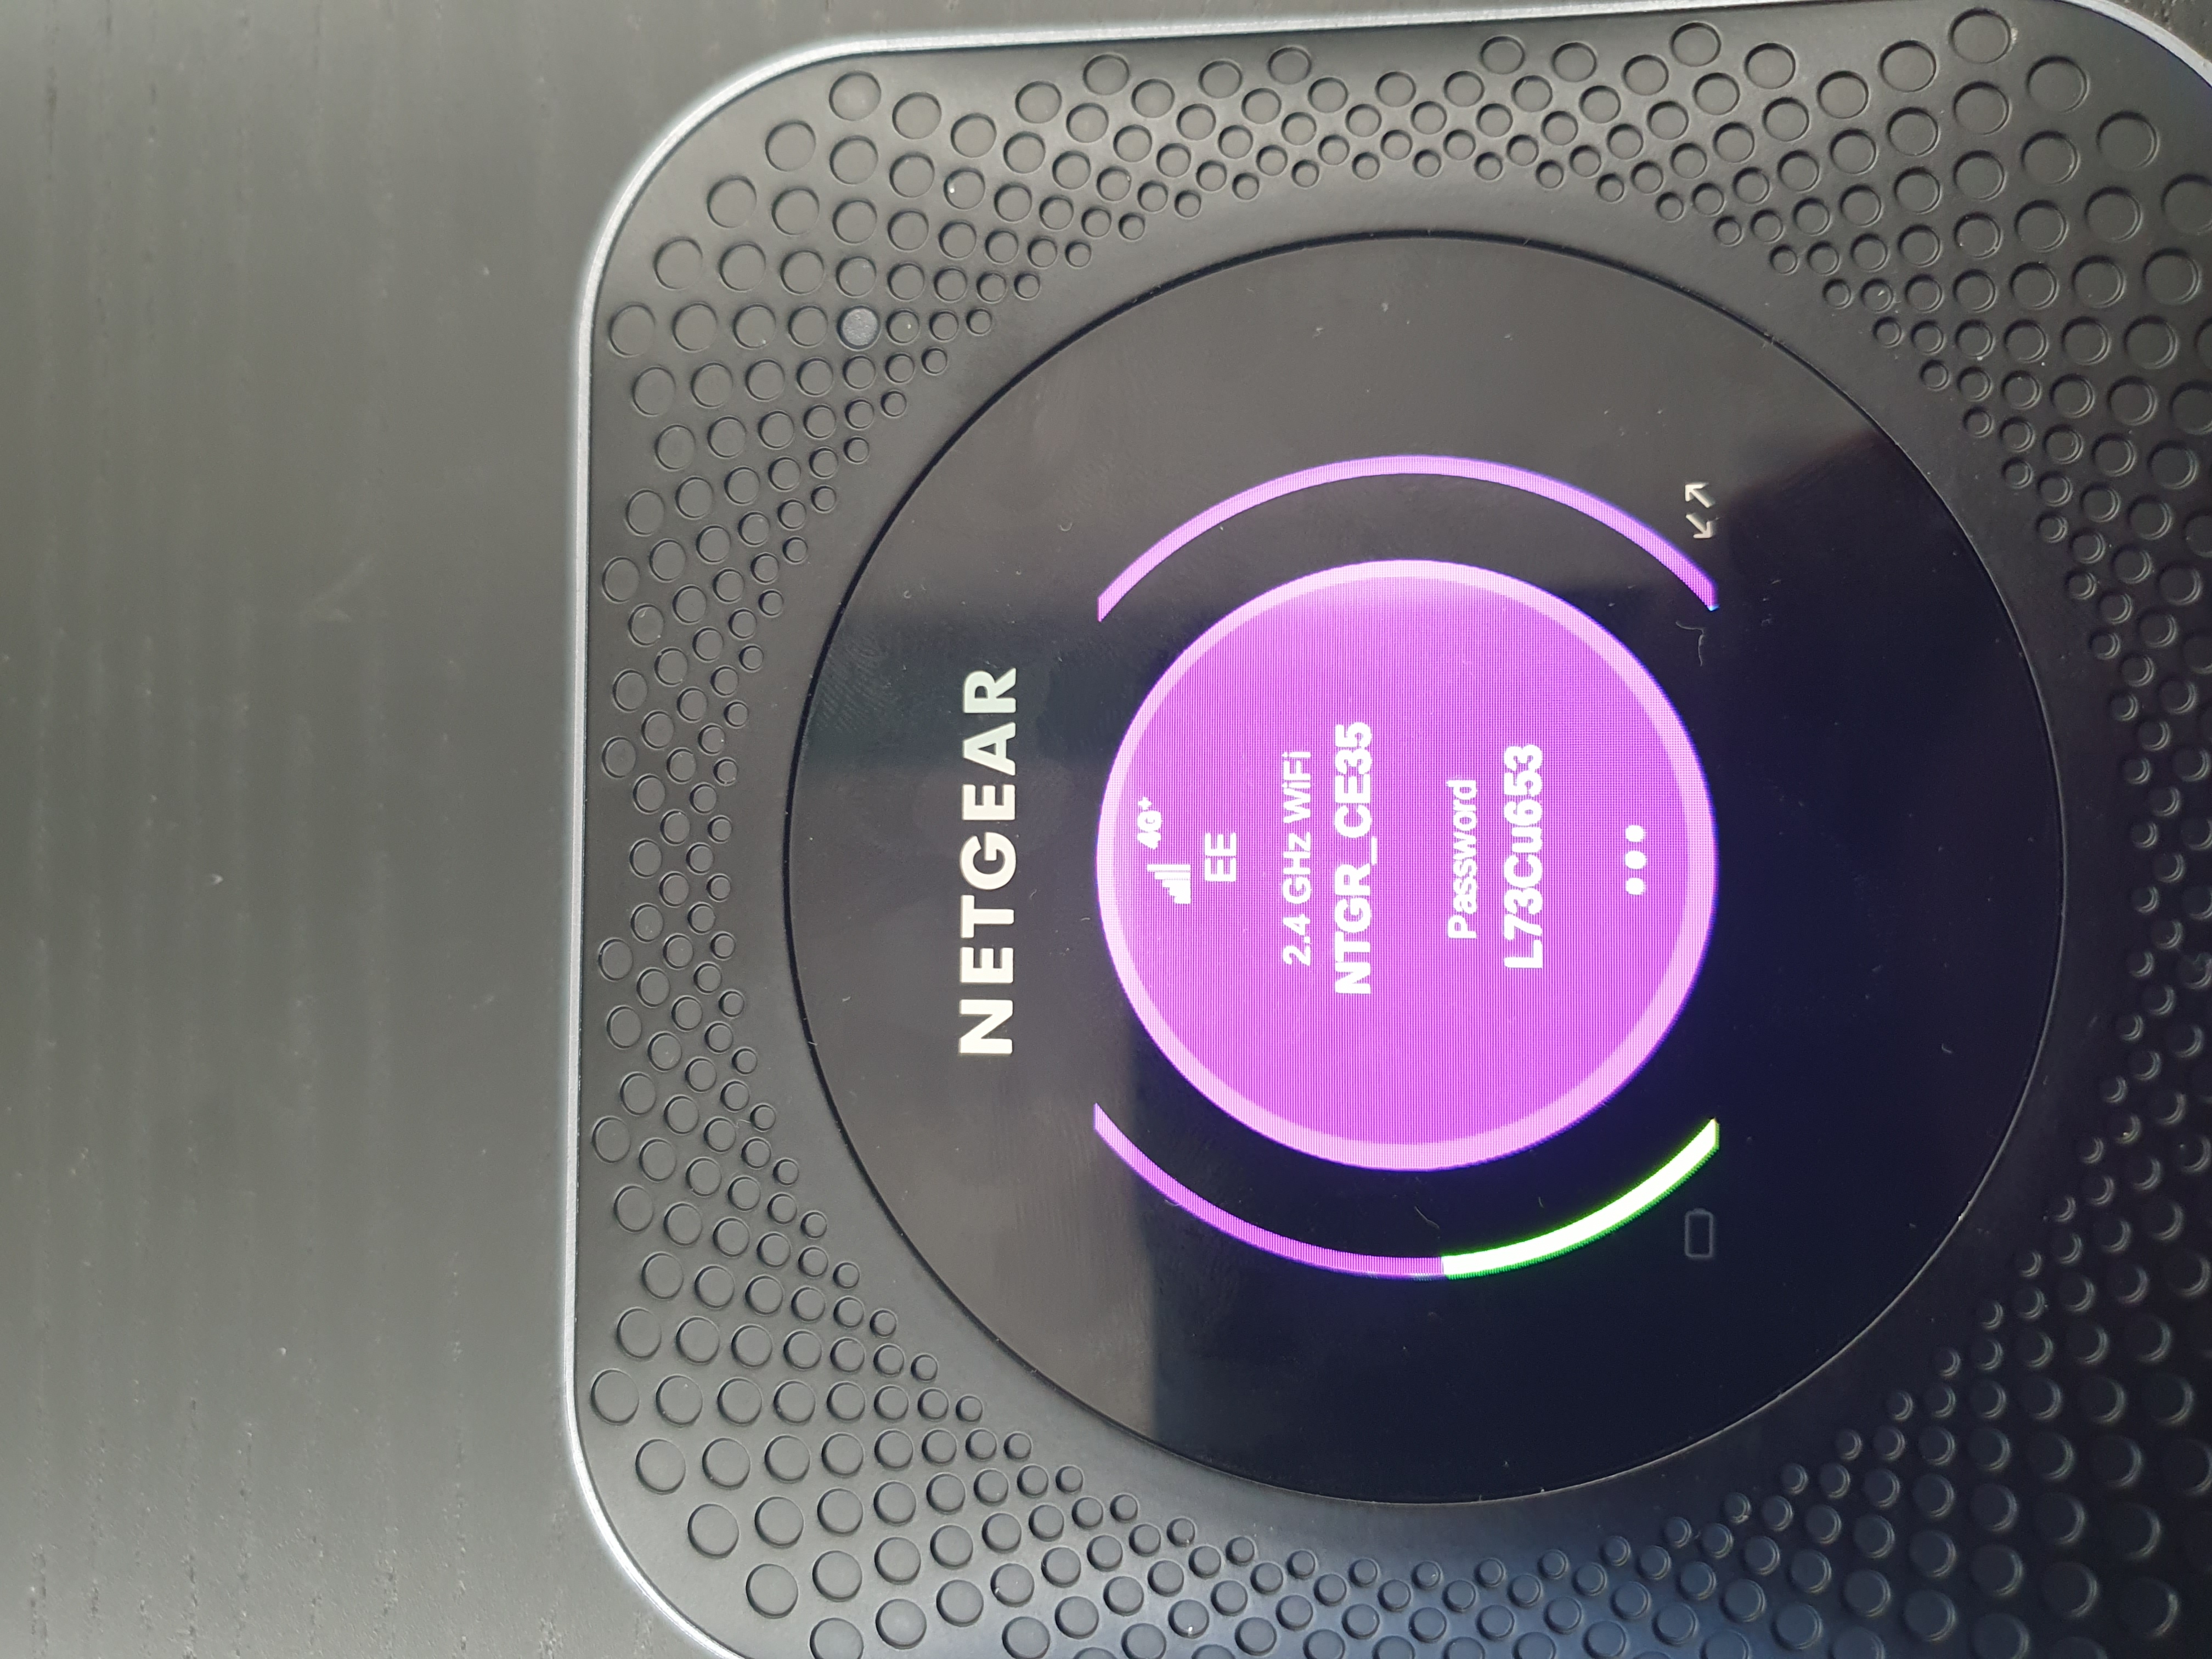
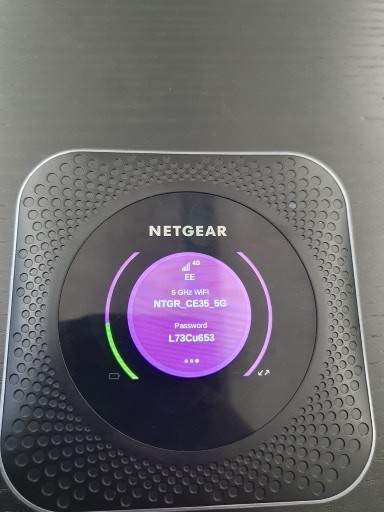
You'll notice that there are two available WiFi connections; a regular connection and a connection with 5G on the end of the name.
- The regular connection runs at 2.5Ghz and has slower speeds with a wider coverage
- The 5G connection, which runs at 5ghz, has faster speeds and a narrower coverage.
We recommend you connect to the 5G version as this will have faster speeds than the regular connection.
Step 3) Connect to the Router
In this example we have used an Apple MacBook, but the same principles and steps apply to most other devices when attempting to connect to the router.
- Open the WiFi menu; this should appear as a button with a circle followed by 3 curved lines above
- Find the WiFi name listed on the router sticker seen previously, and double click it
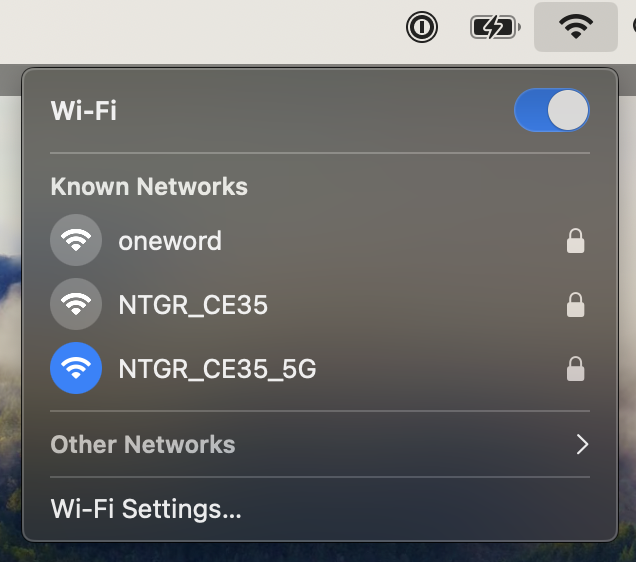
- Enter the Security Key on the router sticker when promped
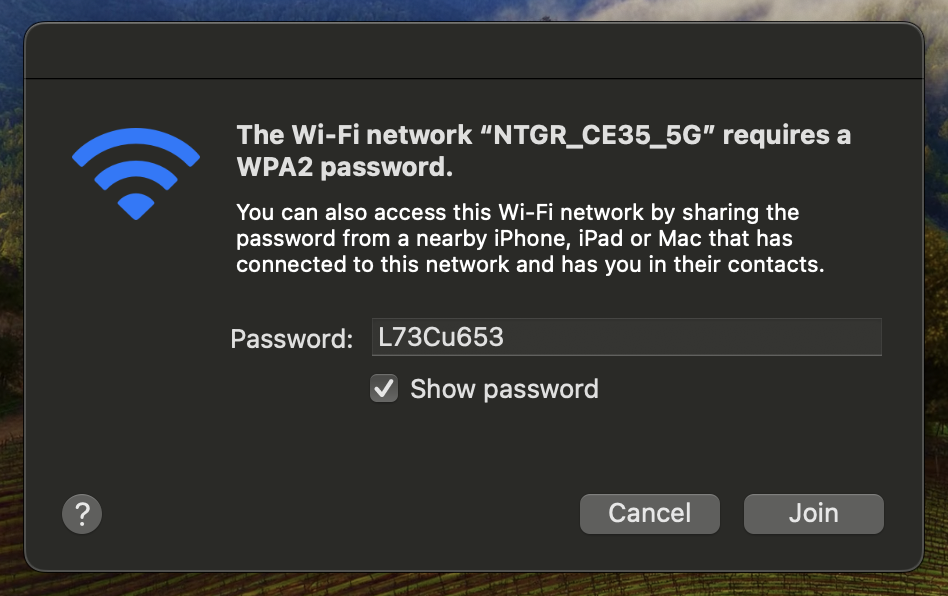
Your device should now be connected to the router.
Step 4) Configure the Router
Although your device is now connected to the router, we need to ensure that the router has the correct settings to ensure that your WiFi experience is as smooth as possible.
To change your router's settings, first ensure that the device you are doing this one is connected to the router; if you are on another network then you cannot access the router's settings. Now follow the steps below:
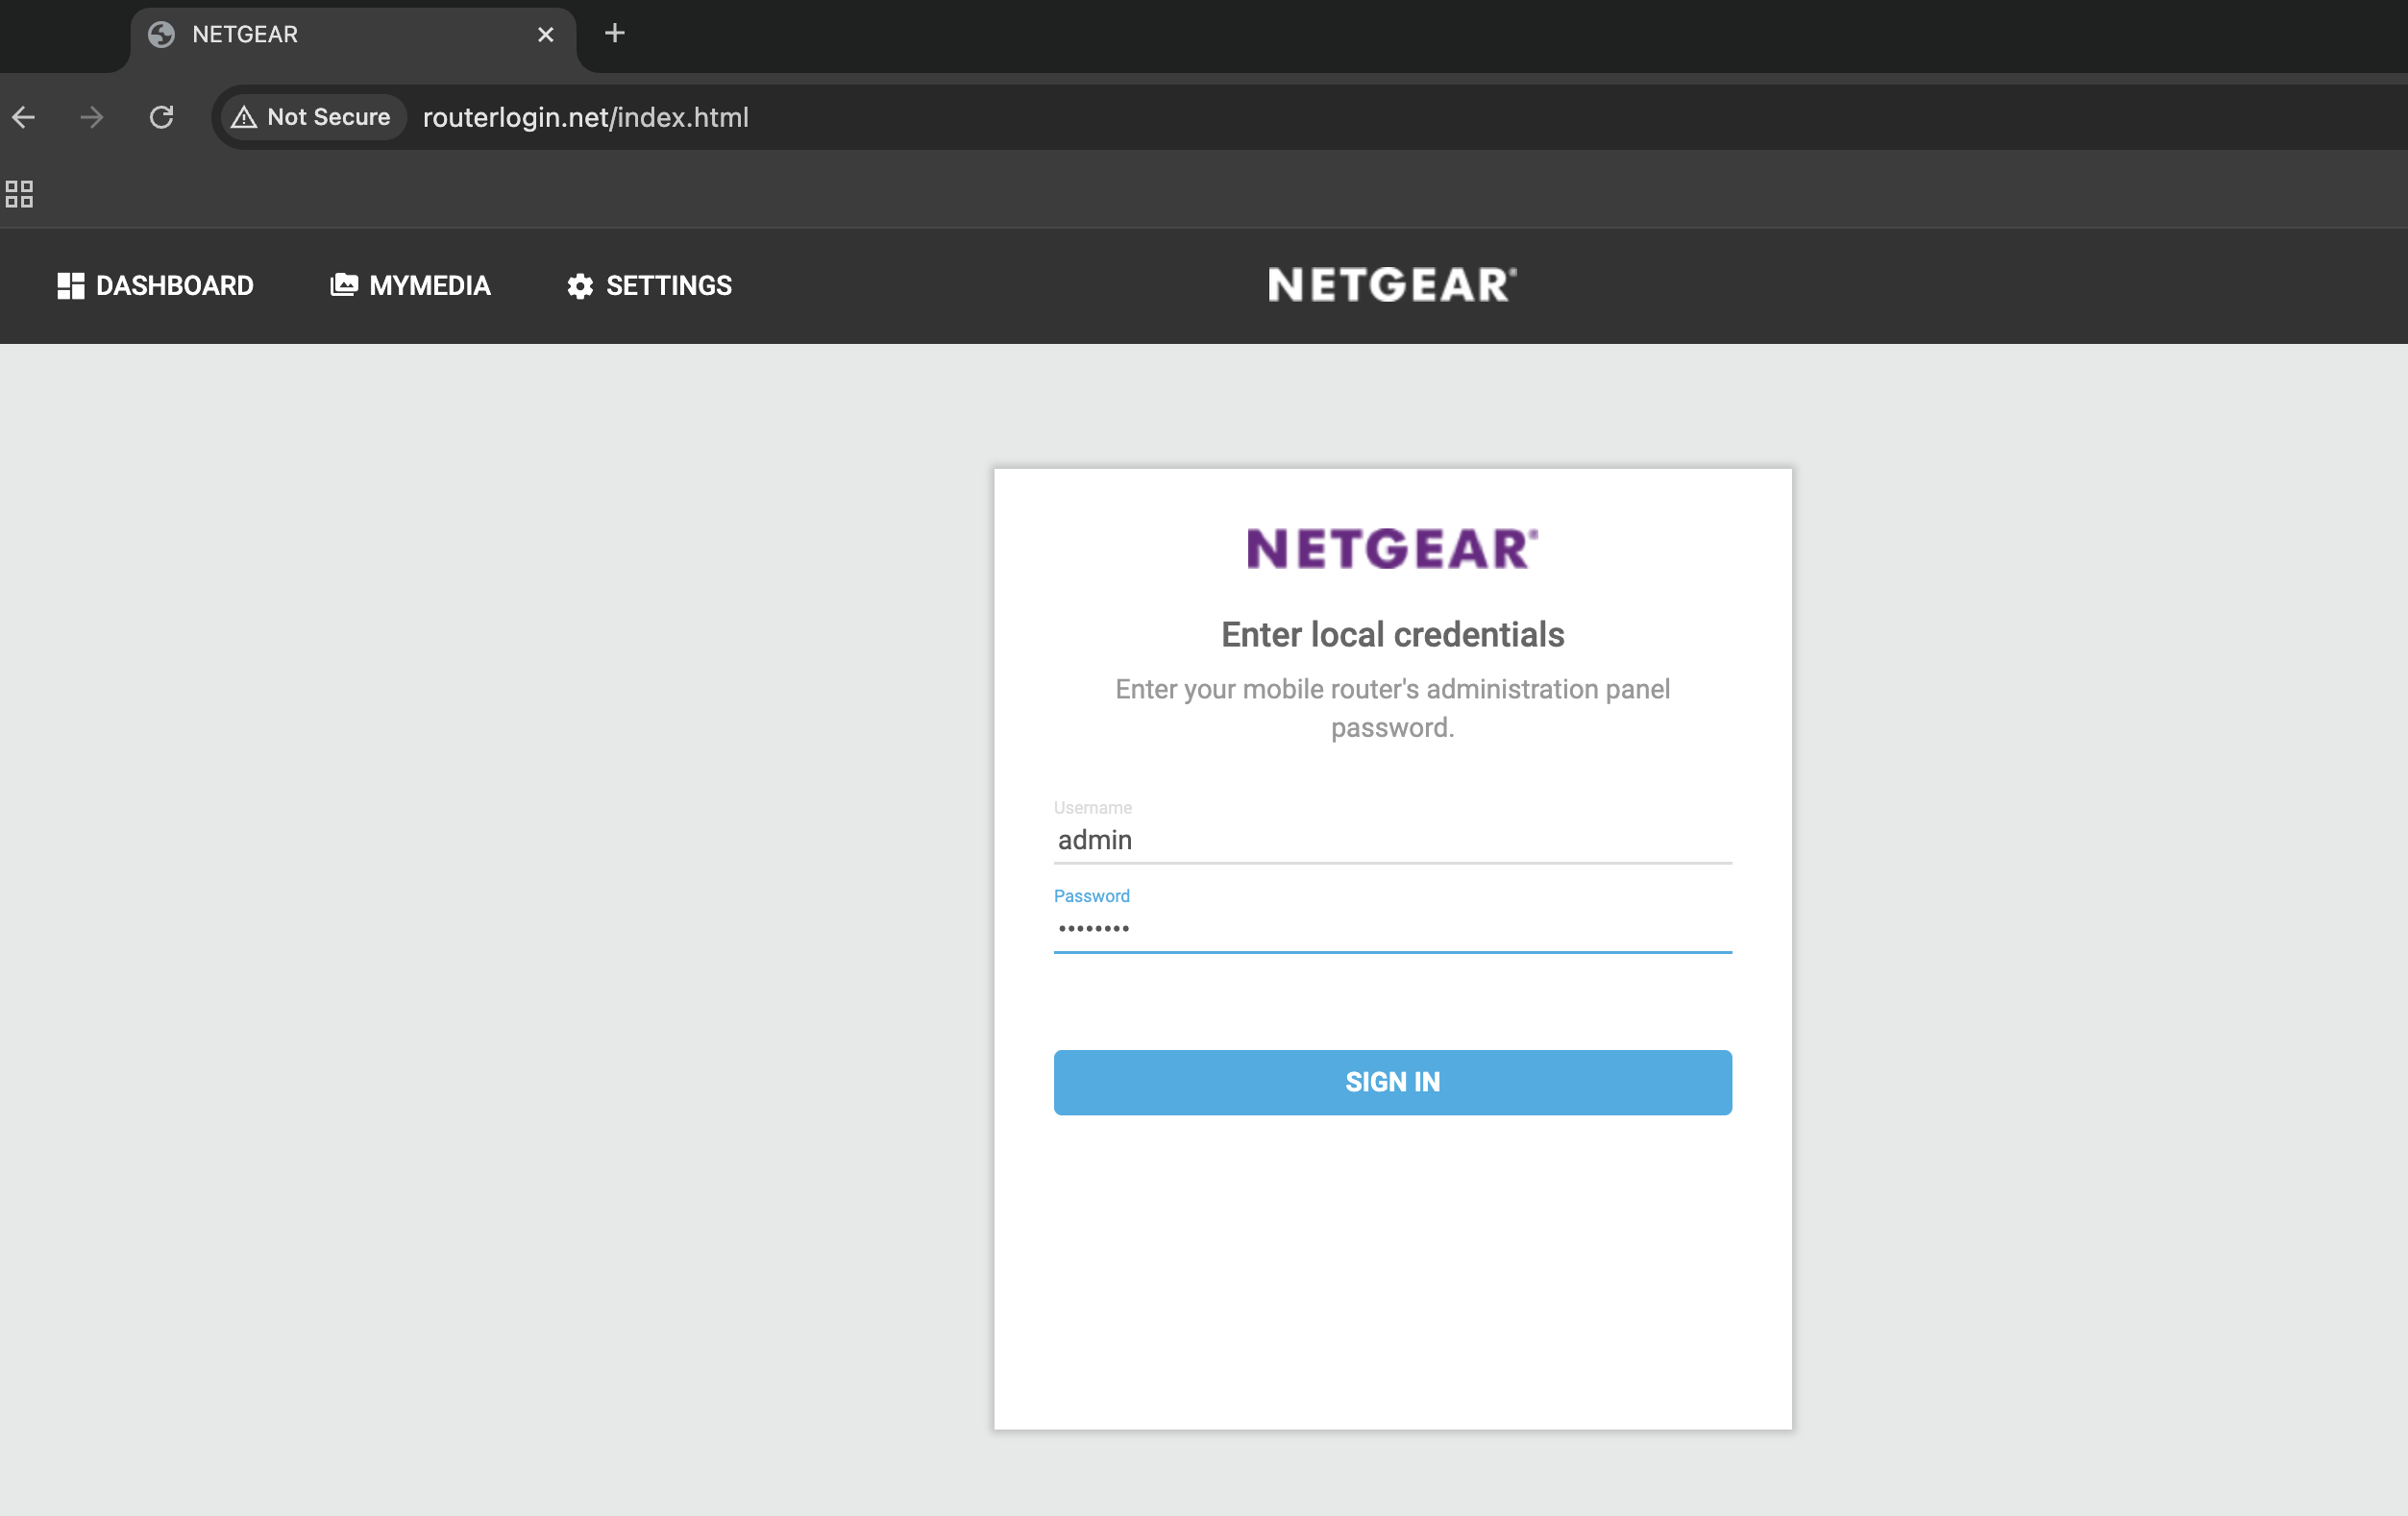
- Open any browser and enter the following address (ensure this is entered in the address bar along the top and not as a regular Google search): http://routerlogin.net/index.html
- You should be greeted with a login page. The username is admin and the password is the Admin Key listed on the router sticker
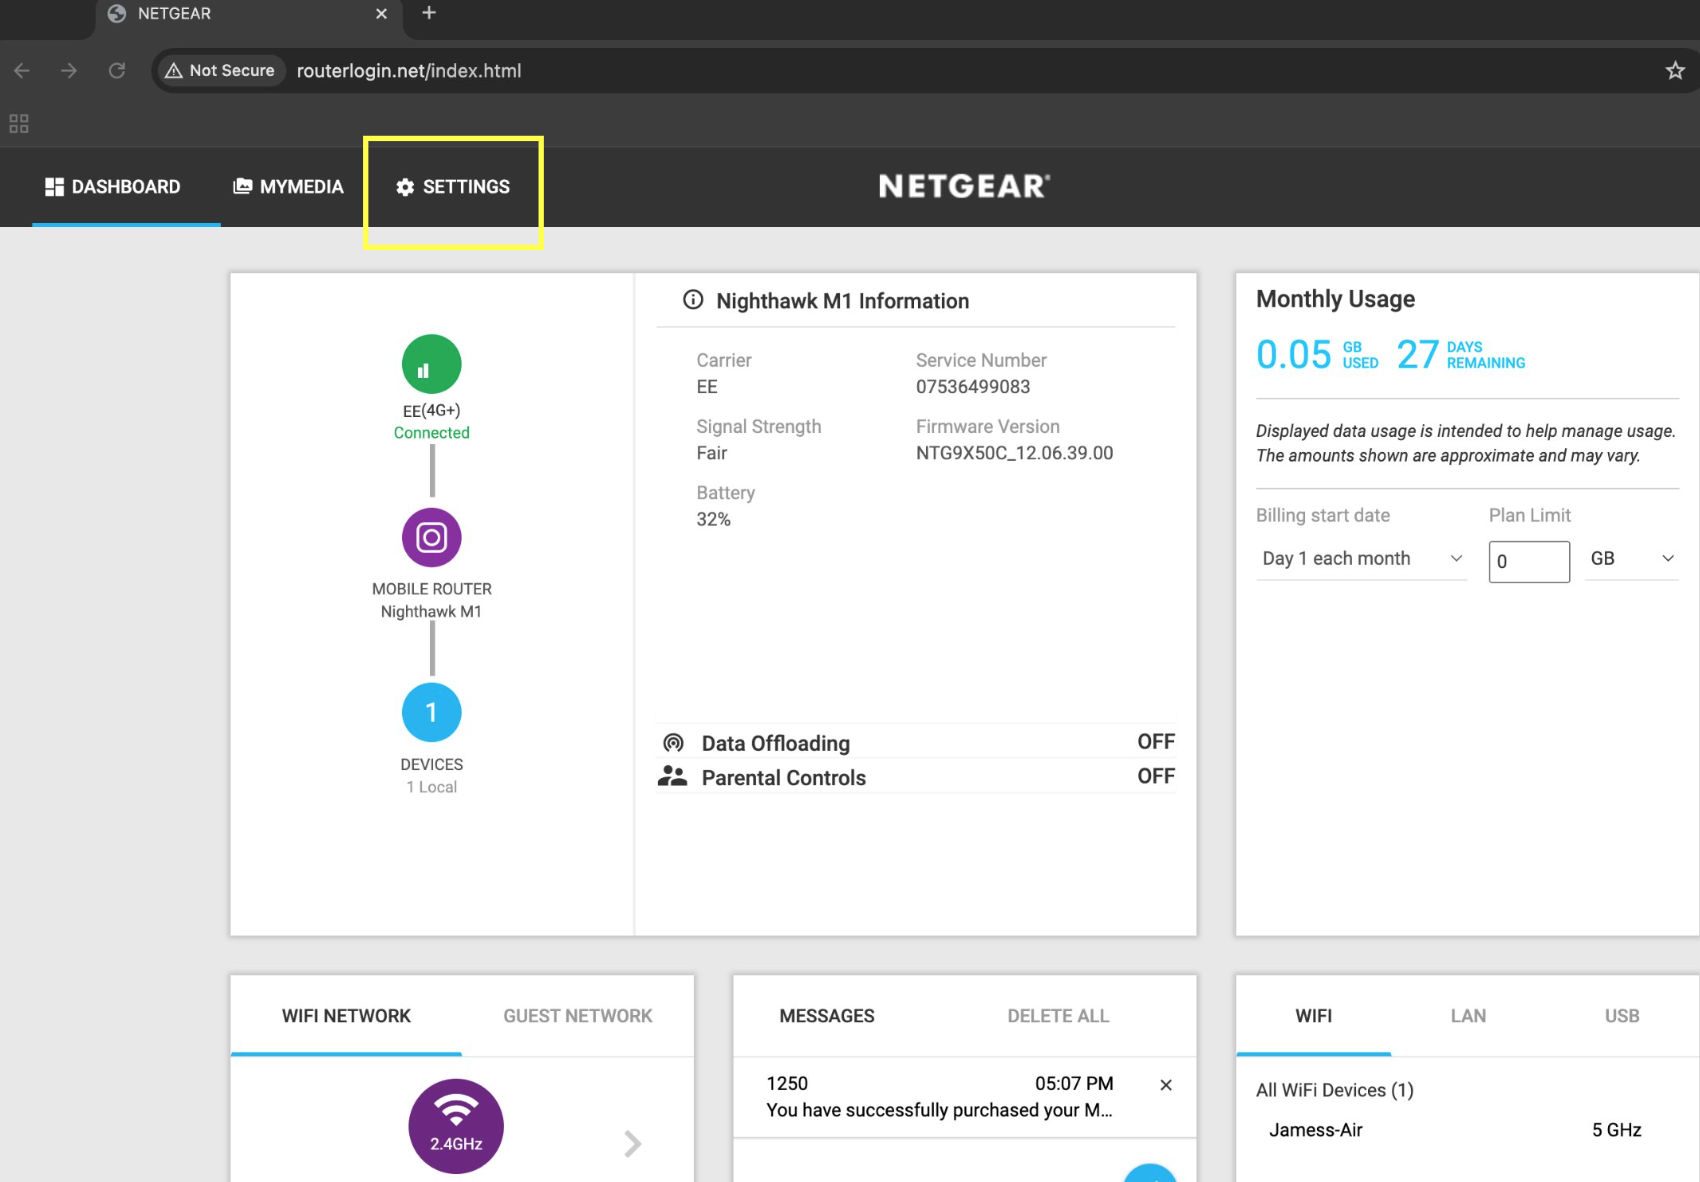
- Once logged in, navigate to the Settings tab along the top left, select the Advance Settings drop down list and click on Cellular
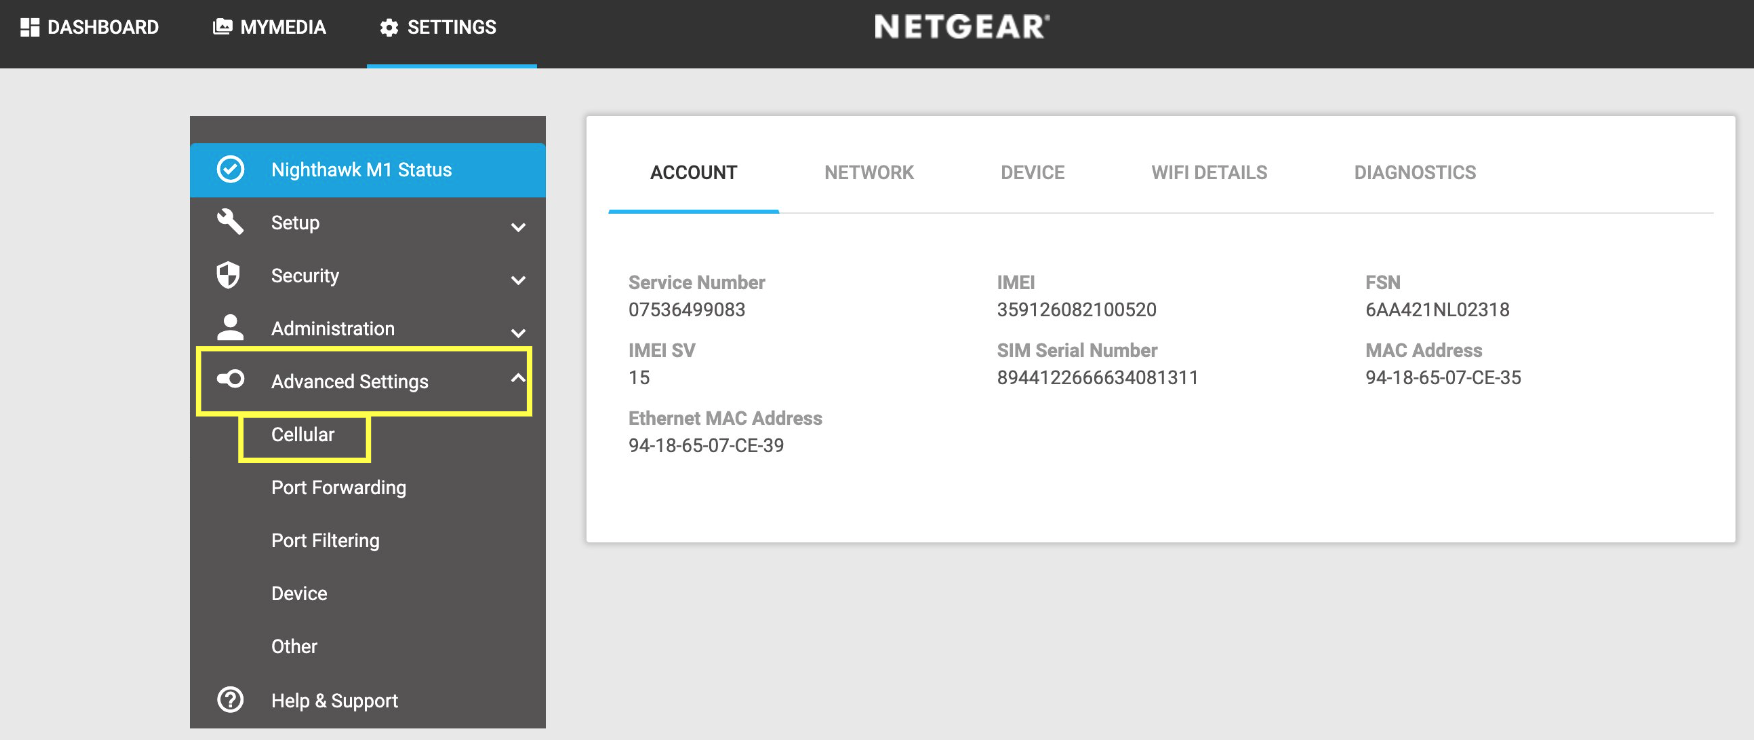
- Ensure that the Data and Roaming Data boxes are ticked (You will not be charged for roaming while using an IQ Go SIM in Europe as our data is a "Roam like Home" service. For roaming charges outside of Europe, please consult our FAQ article on Calls, Data and Roaming Charges using following link: https://helloiq.co.uk/pages/charges)
- Set the Band Region to Auto, and set the network to EE
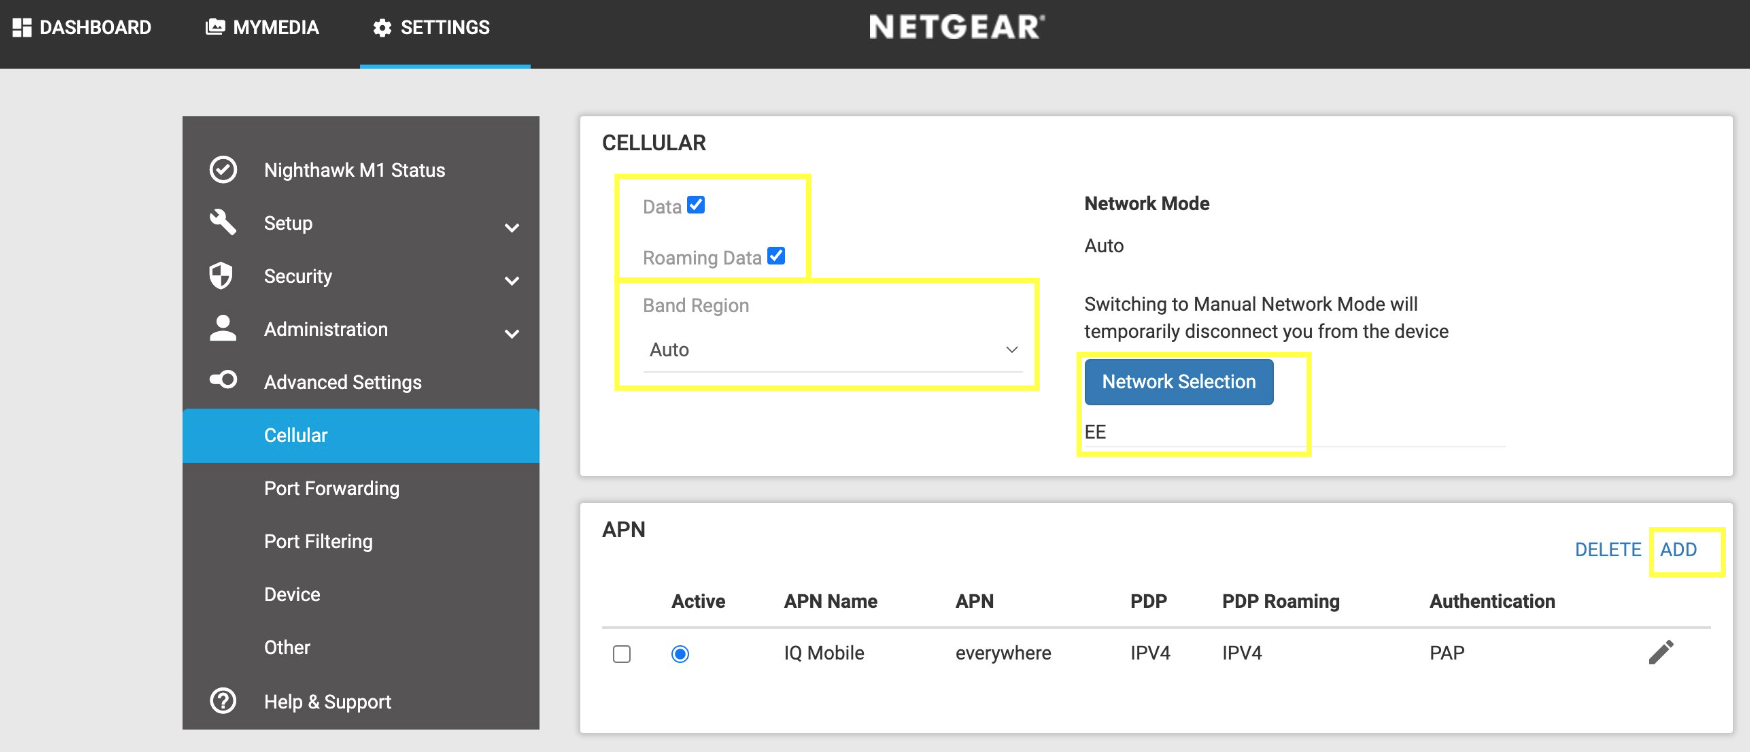
- Select the Add option, and ensure it has the same settings as the picture below. The password is secure
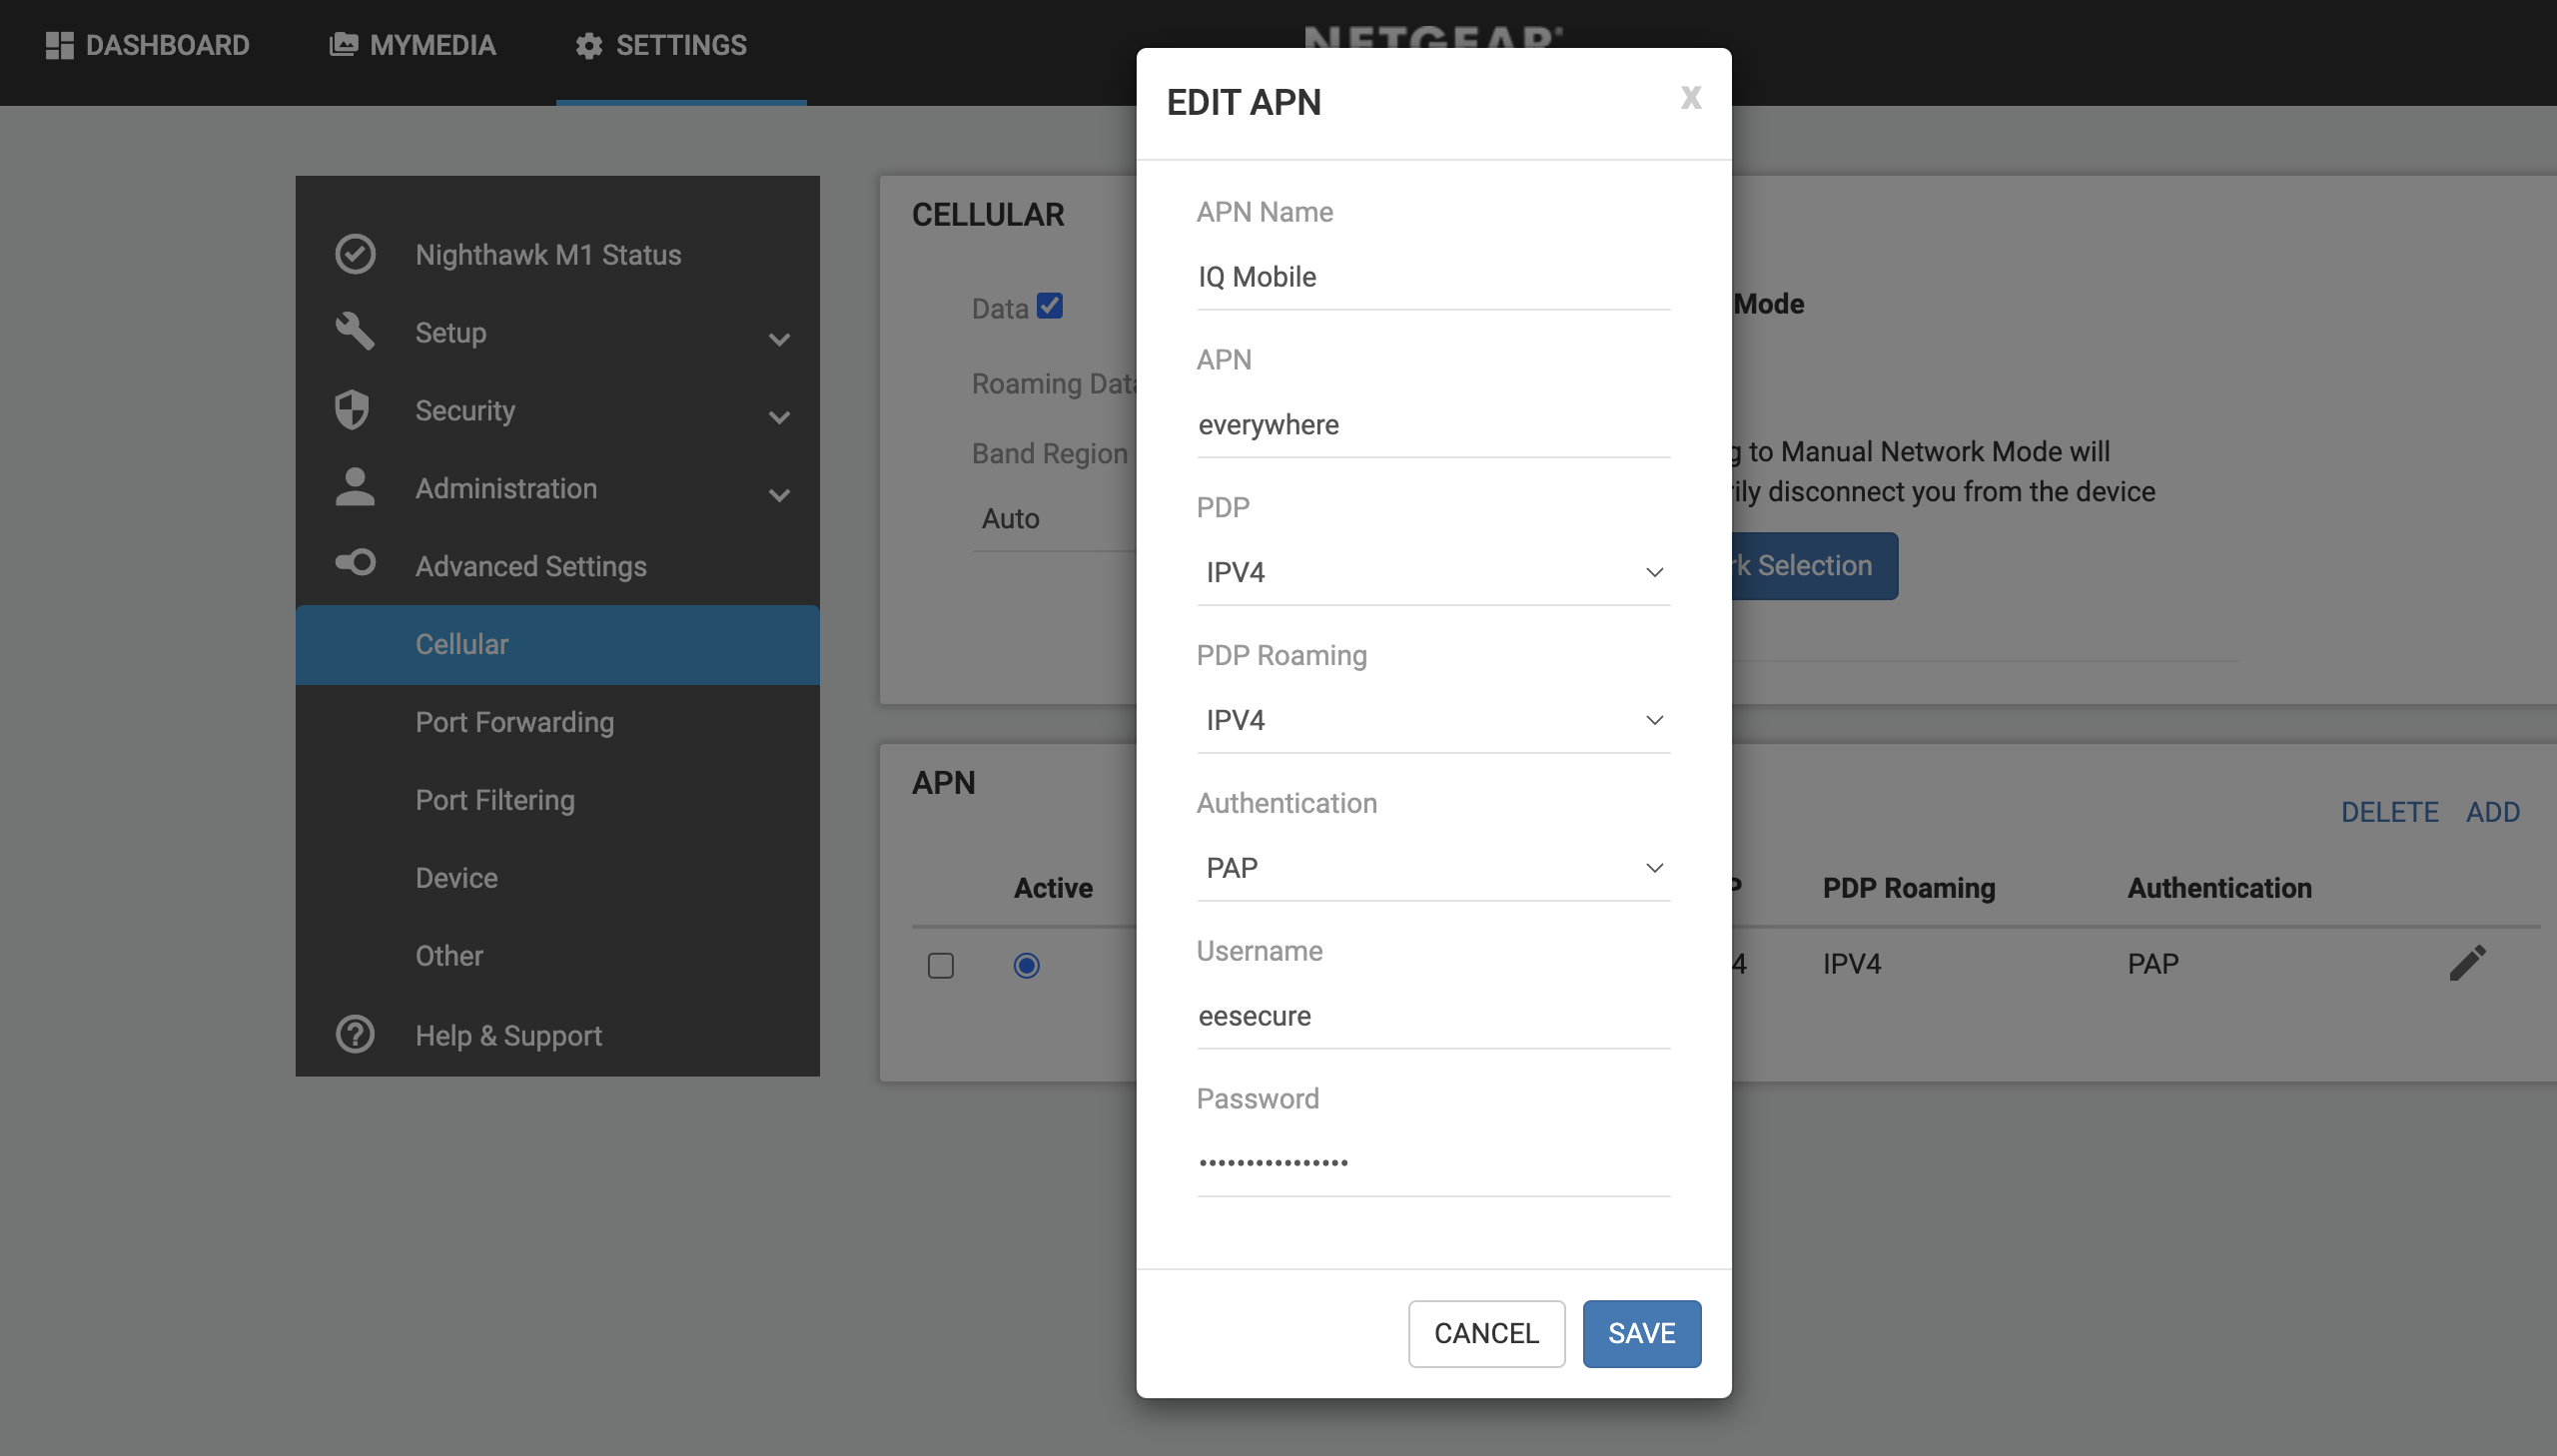
- Finally, click Save and ensure that you have the new IQ Mobile profile selected.
- You may now close your browser.
Additional Support
If you want to discuss any of the steps in this guide we are reachable on help@helloiq.uk or by phone 01225588101.
